Common Mistakes When Documenting Sewage Contamination
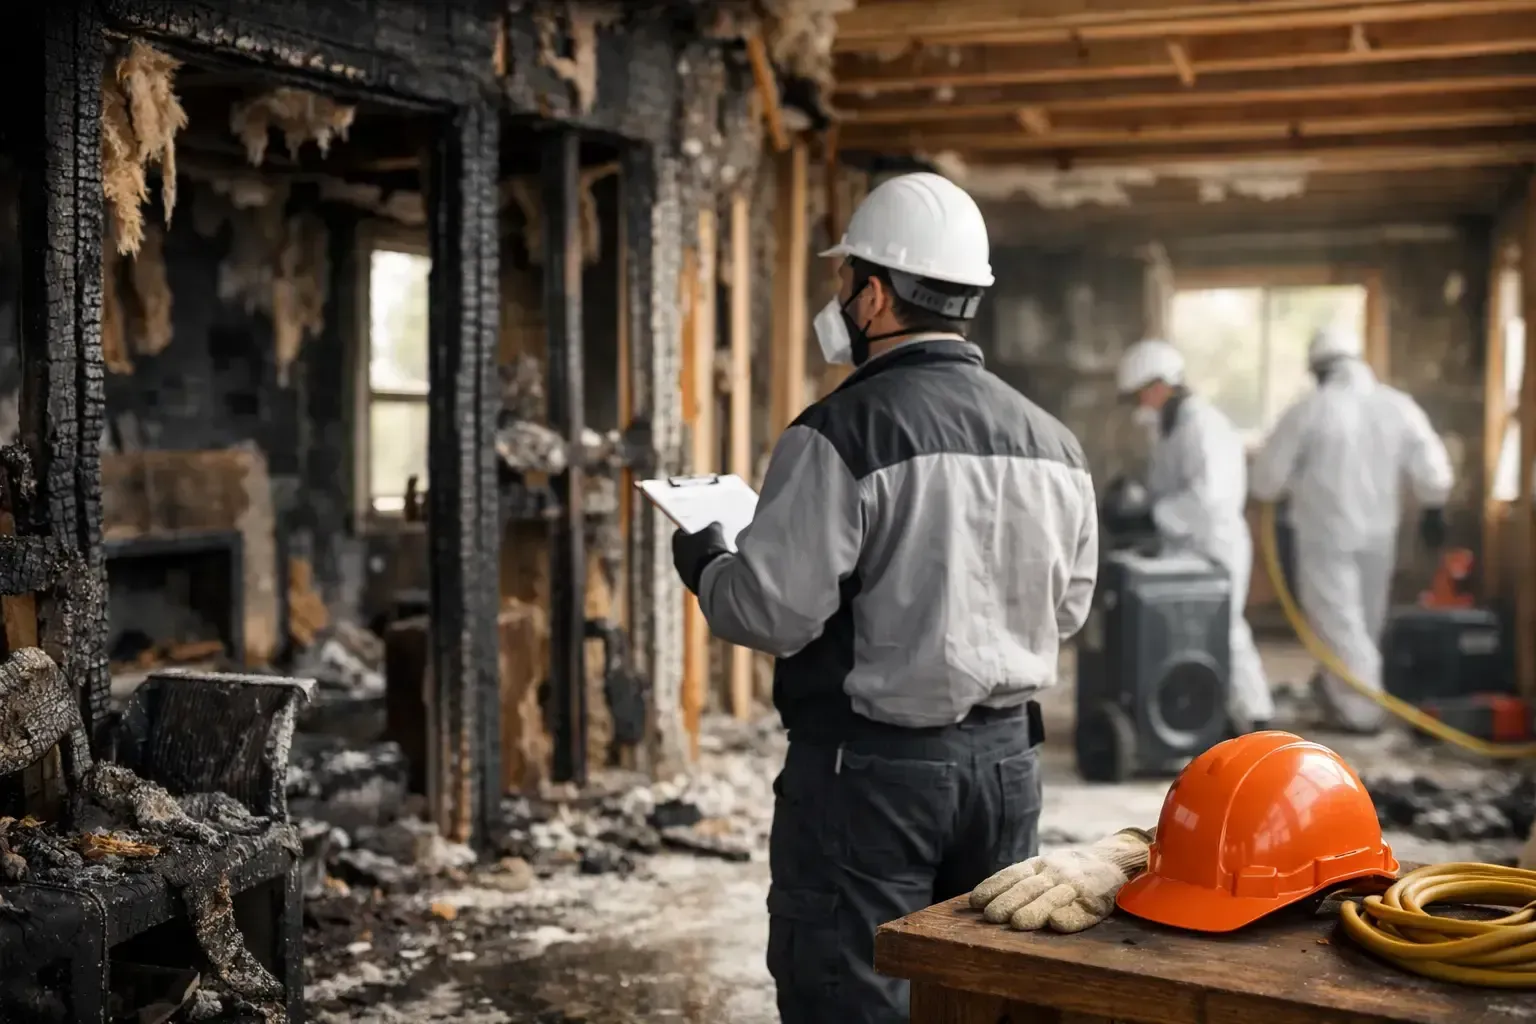
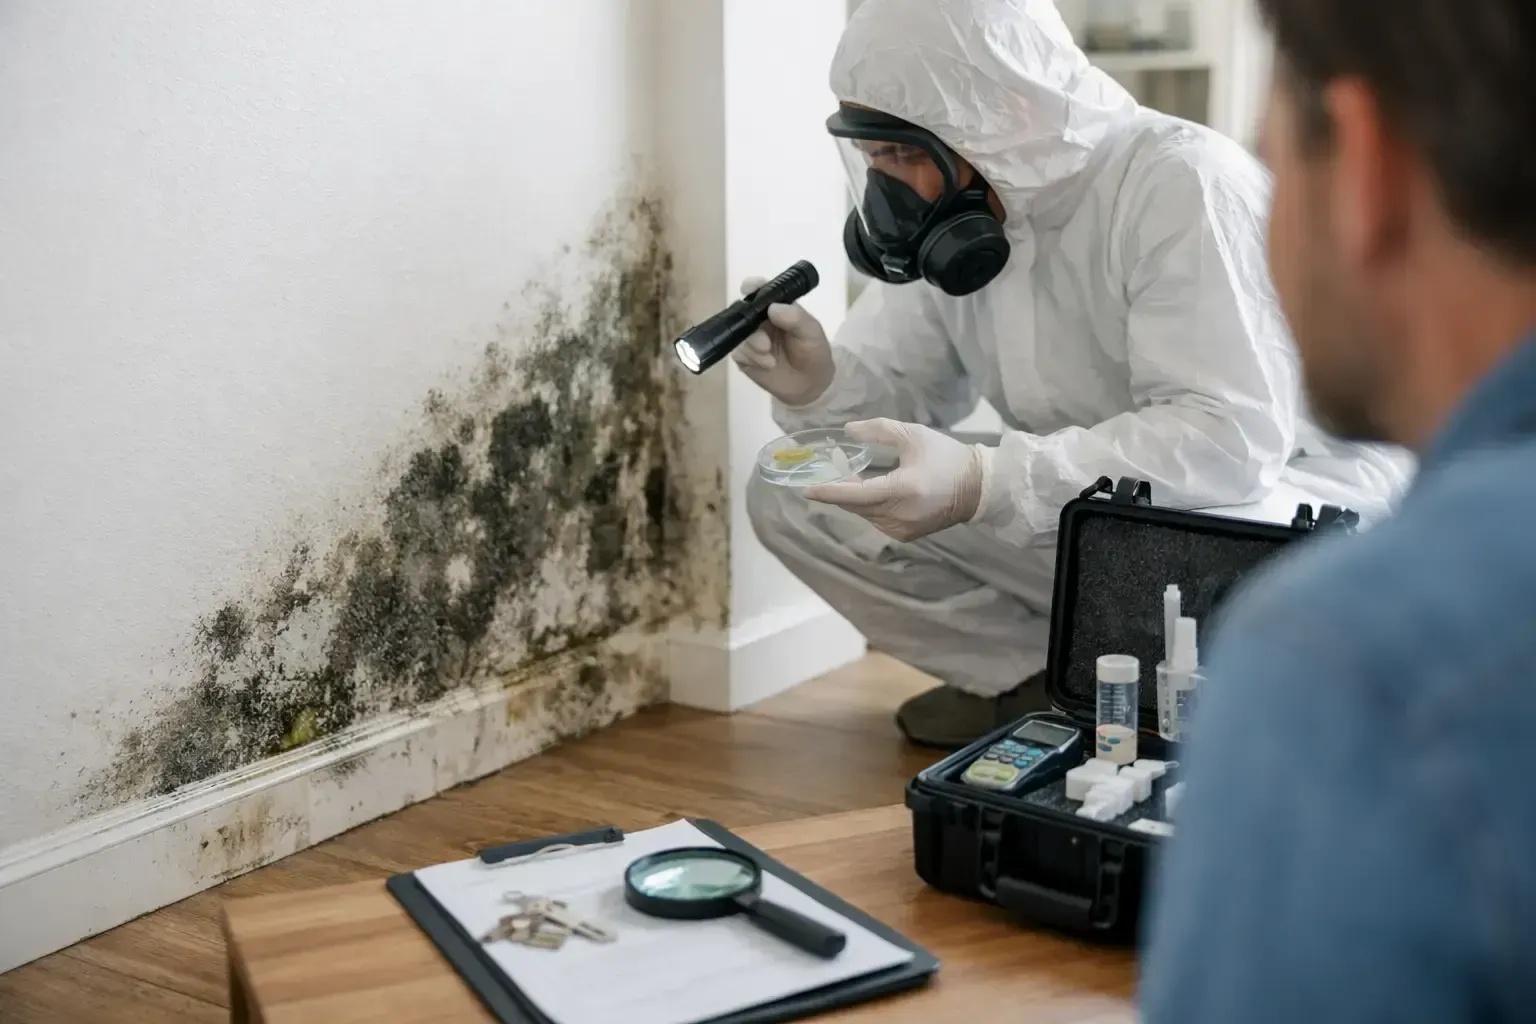
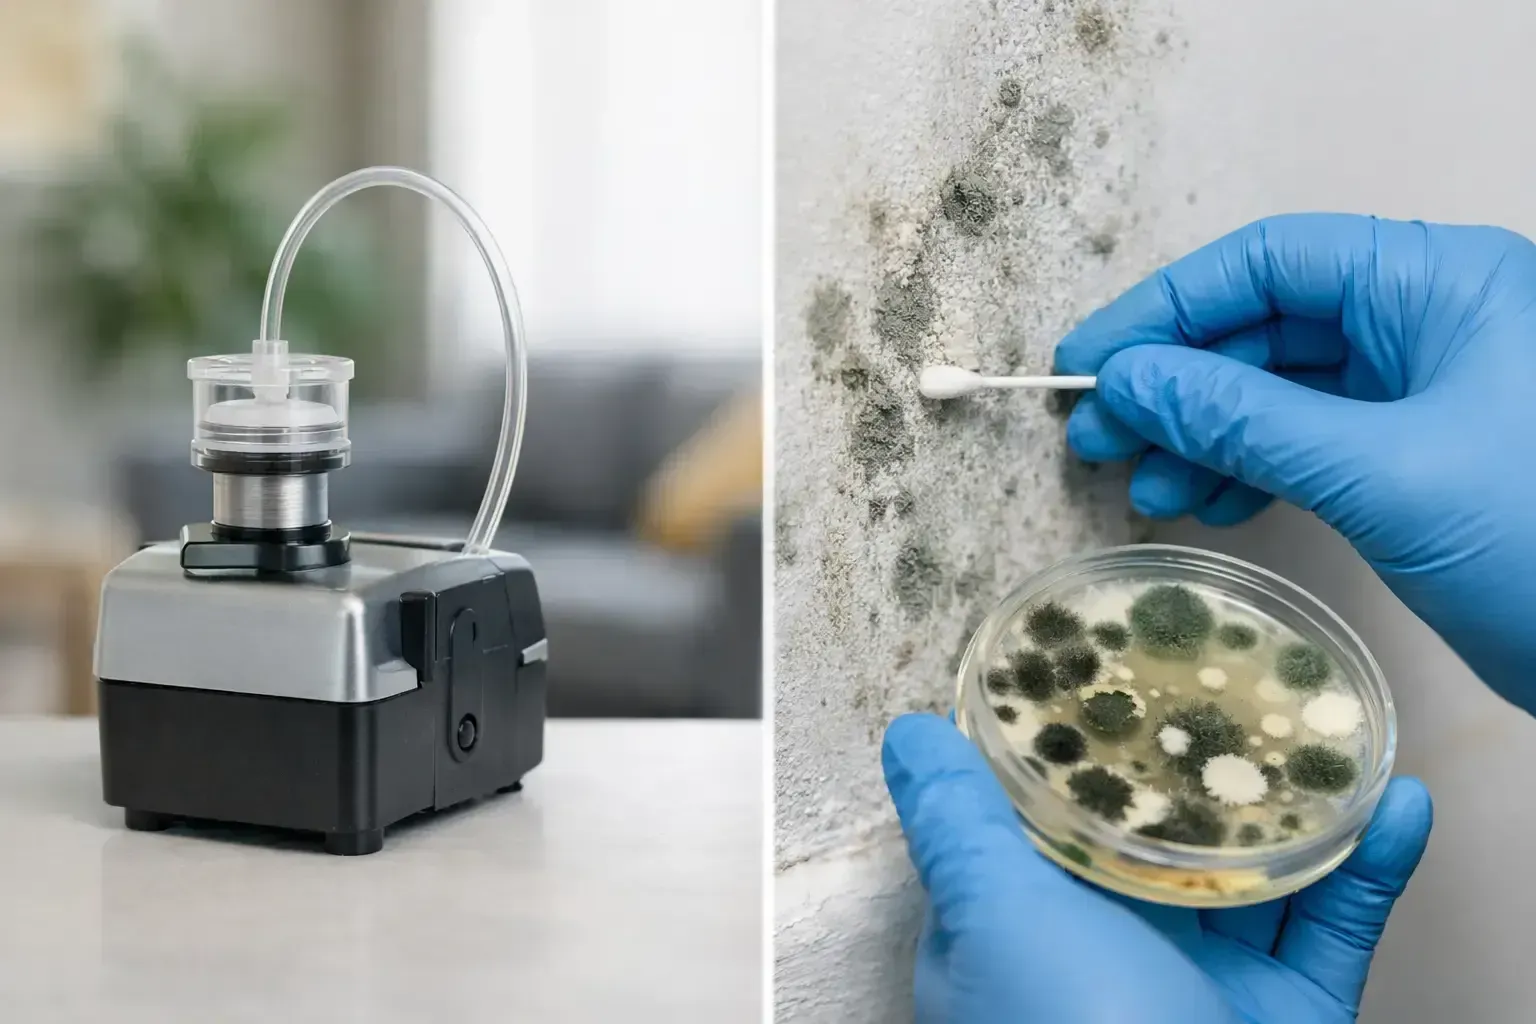
The quality of the report depends on the quality of the inspection. You want someone who understands moisture behavior, building materials, contamination categories, and the difference between visible damage and actual spread. The report should be direct, specific, and supported by field findings, not vague language.
It also helps to work with a company that can explain results in plain English. Technical accuracy matters, but so does communication. When people are dealing with damage to a home, rental, office, or investment property, they need answers they can act on.
In Florida and Kentucky, where weather, humidity, plumbing failures, and hidden moisture issues can all play a role, a thorough assessment is one of the smartest early steps you can take. Hanes Environmental provides that kind of clear, field-based reporting so property owners know what they are dealing with before the damage gets worse.
The sooner you replace assumptions with documented facts, the easier it becomes to protect the building, the people inside it, and the money it will take to set things right.
Why Interpretation Matters More Than the Lab Report Alone
If the property recently had a leak, flood, or AC overflow, timing matters. Testing too early can miss developing growth, while waiting too long can allow contamination to spread. In many cases, the first priority after water damage is drying and stabilizing the structure quickly. Once materials remain wet beyond a day or two, the risk of mold increases significantly.
After water damage, testing usually focuses on the affected materials, adjacent rooms, and HVAC impact if the system ran during the event. Moisture mapping is essential here. Water often travels farther than the visible stain suggests, especially under flooring and inside wall cavities.
If remediation has already been performed, post-remediation verification testing may be the next step. That type of testing checks whether contamination has been properly removed and whether the area is dry and ready for rebuild. For property owners, buyers, managers, and contractors, that documentation can be just as important as the initial diagnosis.
Use the checklist as a screening tool, not a final diagnosis. Walk the property slowly. Start where water is most likely, then expand outward to adjacent rooms and connected systems such as HVAC and crawl spaces. Document what you see, what you smell, and what history you know.
If your inspection reveals isolated humidity staining, you may only need better ventilation and moisture control. If it reveals recurring leaks, soft materials, spreading discoloration, or widespread odor, the safer move is a professional mold assessment with testing where appropriate.
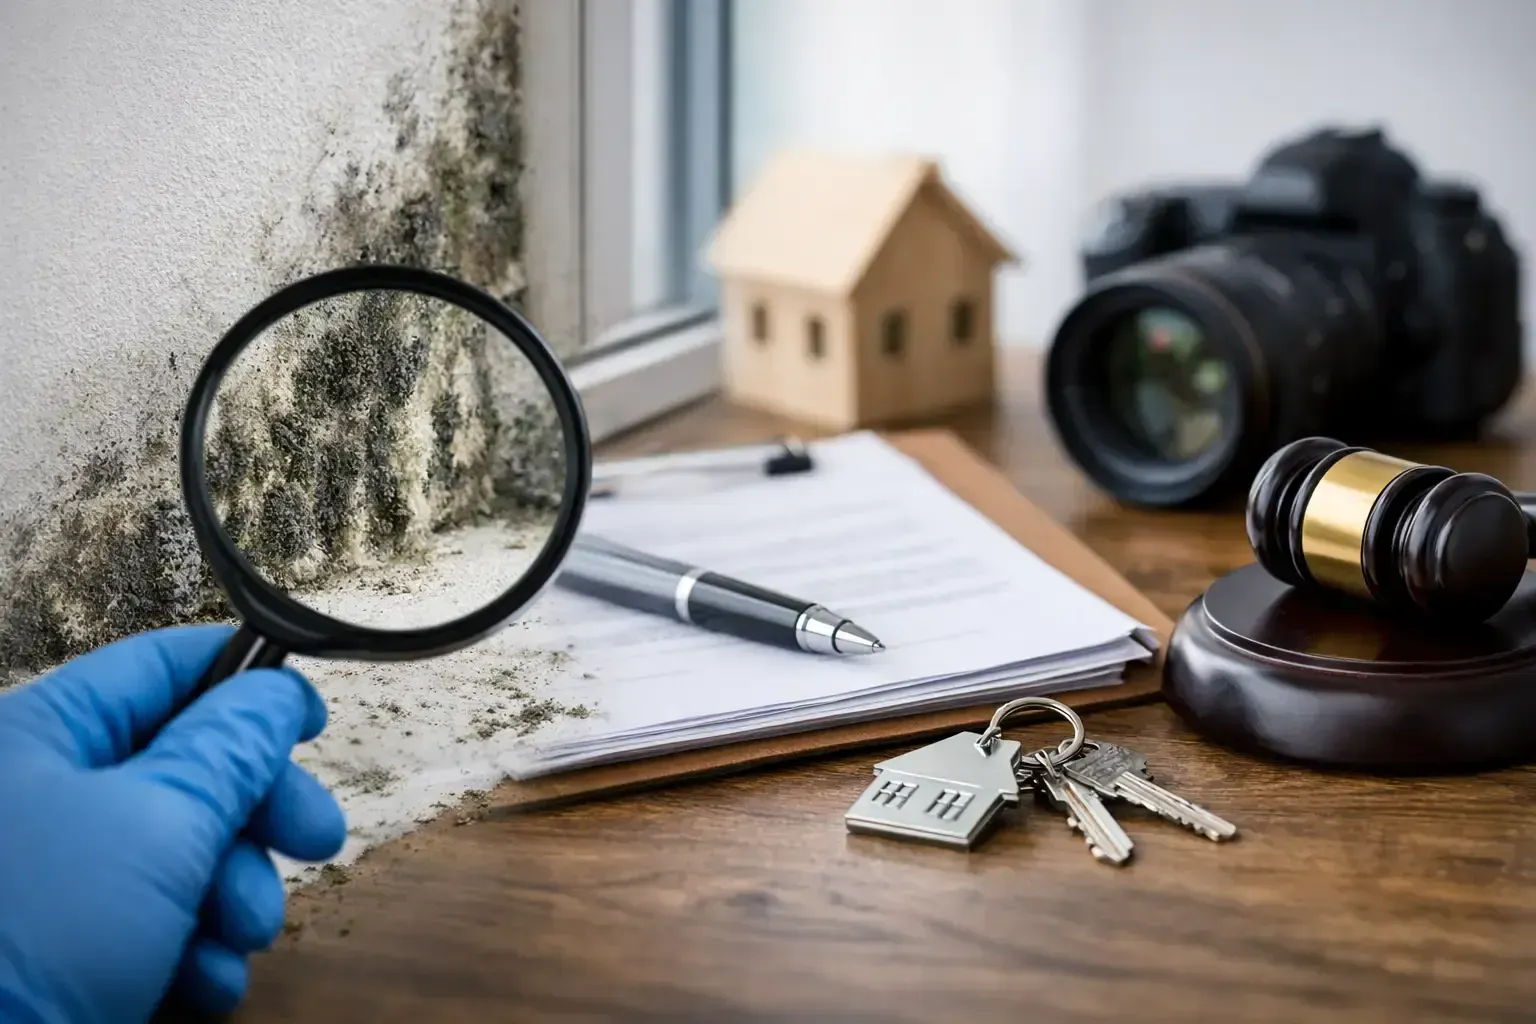
When indoor conditions feel off, delay usually makes the situation more expensive. A careful inspection done early can protect your health, your property, and your documentation if the issue turns into a real estate, insurance, or tenant matter.
The best closing thought is simple: trust what the building is telling you. If you see moisture, smell mustiness, or notice damage that does not make sense, act on it before a small problem becomes hidden contamination.
Room-by-room Inspection Points
Bring in Qualified Help for Complex or Contaminated Losses
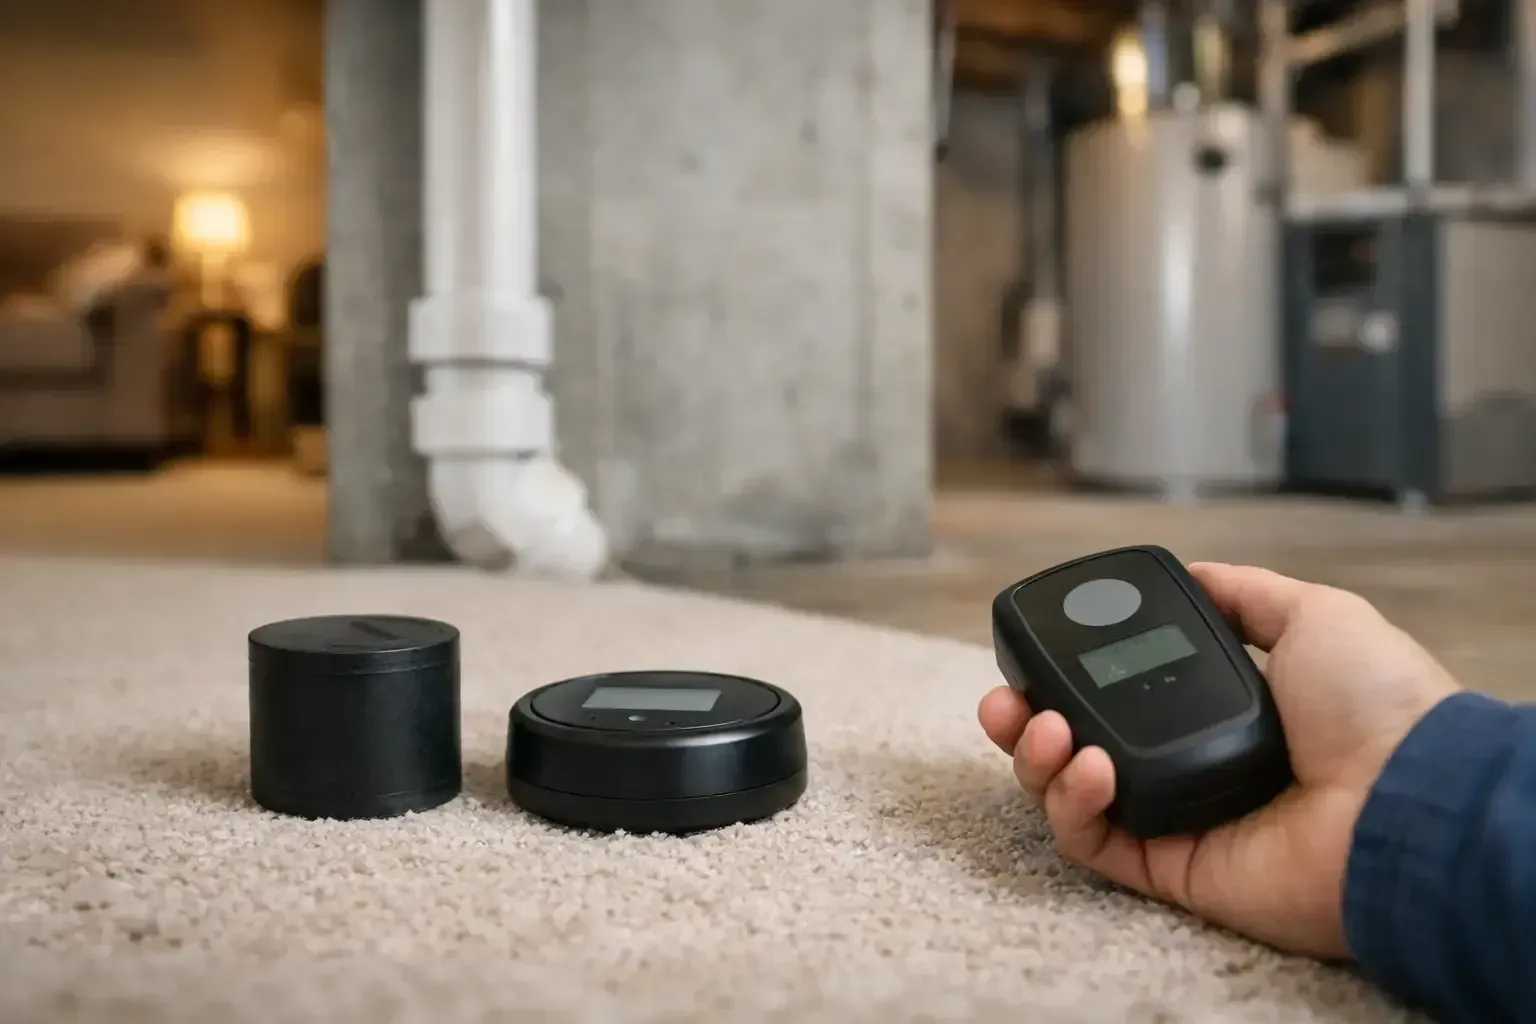
Radon testing is one of the few property checks that can reveal a serious indoor air concern without any visible warning. This radioactive gas has no smell, color, or taste, so knowing how to test radon levels is the only dependable way to determine whether it is present at an elevated concentration in your home or building.
Radon can enter through cracks in slabs, gaps around pipes, crawlspaces, sump openings, and other pathways where a structure meets the soil. It can affect new construction, older homes, homes with basements, and properties built on slabs. A home in a neighborhood with low reported radon levels can still test high, which is why testing the specific building matters.
How to Test Radon Levels: Start With the Right Test
Most property owners choose between a short-term test and a long-term test. Both measure radon in picocuries per liter of air, written as pCi/L, but they answer slightly different questions.
A short-term test generally runs from two to 90 days. It is often the practical choice during a real estate transaction, after a renovation, or when a homeowner needs an answer quickly. Charcoal canisters, alpha track devices, electret detectors, and continuous radon monitors are common short-term options. Some are do-it-yourself kits, while others are deployed and managed by a qualified radon professional.
A long-term test remains in place for more than 90 days, often for several months up to a year. Because radon levels can change with weather, HVAC use, rainfall, temperature, and building pressure, a long-term test provides a better picture of the property’s average exposure. It is especially useful when an initial result is near a decision threshold or when occupants want more confidence before investing in mitigation.
For a time-sensitive home purchase, a properly conducted short-term test may be the appropriate starting point. For an occupied home with no deadline, long-term testing can be the stronger decision-making tool. In some situations, both make sense: use a short-term test for an immediate result, then confirm conditions with a longer measurement period.
Choose a Device You Can Trust
A store-bought radon kit can be useful when it is from a recognized testing program, used exactly as instructed, and sent to the designated laboratory promptly after the test period ends. The most common mistake is not the device itself. It is poor placement, broken closed-house conditions, or waiting too long to mail the sample.
Professional testing may be preferable when the results will affect a sale, lease dispute, insurance documentation, tenant concern, or mitigation decision. A qualified tester can select the appropriate device, document placement and test conditions, control the chain of custody, and provide a clear report. Continuous radon monitors can also identify unusual disturbances during the test period, such as device movement or major changes in ventilation.
Do not rely on a radon map, a neighbor’s result, or a previous owner’s verbal assurance. Radon is highly site-specific. Soil conditions, foundation details, drainage, additions, crawlspace configuration, and HVAC operation can cause one property to test differently from the house next door.
Place the Test Where People Actually Spend Time
For most homes, place the radon test in the lowest livable level. If the basement is finished and used as a family room, office, bedroom, or recreation space, test there. If it is unfinished and not regularly occupied, the first floor is often the appropriate location.
The device should sit in a room that represents normal occupied conditions. Keep it away from exterior doors, open windows, fans, high-heat areas, direct sunlight, kitchens, bathrooms, laundry rooms, and drafts from supply or return vents. Avoid placing it on the floor, in a closet, on a countertop near a sink, or in a room with unusually high humidity.
A good general placement is on a shelf, table, or other stable surface several feet above the floor and away from exterior walls. Follow the device manufacturer’s required clearances. Small placement errors can affect the result, particularly with short-term testing.
For apartments, condos, offices, and other multi-unit buildings, test the specific occupied area in question. Ground-contact units and lower floors often deserve the closest attention, but upper-level spaces can also be affected by building pressure and shared pathways. Commercial properties may require a more detailed testing plan because occupancy patterns and HVAC systems are more complex.
Maintain Closed-House Conditions for Short-Term Tests
Short-term radon testing depends on keeping building conditions as stable as possible. Before the test begins, maintain closed-house conditions for at least 12 hours unless the test instructions or a professional directs otherwise. During the test, keep exterior windows and doors closed except for normal entry and exit.
Normal heating and air conditioning operation is typically acceptable. Continue using the building as you normally would, but avoid actions that significantly change airflow. Do not leave windows open, operate whole-house fans, or run equipment that pulls large volumes of outside air into the home unless it is part of normal, unavoidable operation.
Do not move the device once testing starts. Keep children, pets, cleaning crews, and contractors from disturbing it. If a major weather event, power outage, open window, or construction activity compromises test conditions, document what happened and ask the laboratory or testing professional whether the test should be repeated.
Read the Result Without Guesswork
The U.S. Environmental Protection Agency recommends taking action to reduce radon when a confirmed result is at or above 4.0 pCi/L. The EPA also advises considering mitigation for results between 2.0 and 4.0 pCi/L. There is no known risk-free level of radon exposure, so the result should be treated as a decision point, not a reason for panic.
If a short-term result is below 2.0 pCi/L, a long-term test can still provide useful confirmation, particularly if the test occurred during mild weather or lasted only a few days. If the result falls between 2.0 and 4.0 pCi/L, consider a longer test or a follow-up short-term test, depending on the device used and how quickly you need to decide.
At or above 4.0 pCi/L, arrange a follow-up test or speak with a qualified radon mitigation professional. A high result is not a diagnosis of a building failure. It means the property needs a controlled solution, typically one designed to reduce soil gas entry and safely vent radon outdoors.
What Happens if Your Radon Level is High?
The most common mitigation approach is an active soil depressurization system. A contractor creates suction beneath the slab or through a crawlspace treatment approach, then routes collected soil gas through piping to a fan that exhausts above the building. The exact design depends on the foundation, building layout, soil conditions, and accessible pathways.
Do not assume that sealing cracks alone will solve the problem. Sealing is often part of a mitigation plan, but it is rarely a complete answer because radon can enter through many small openings that are difficult to identify and permanently seal.
After mitigation, conduct a post-installation radon test to verify that the system is reducing levels effectively. Continue periodic testing in the future, especially after major renovations, foundation work, HVAC changes, or occupancy changes that alter how the building is used.
Radon Testing During a Home Sale or Lease
Radon testing is particularly valuable before closing on a home, signing a commercial lease, or accepting responsibility for a property. A properly documented result gives buyers, sellers, landlords, tenants, and property managers a factual basis for negotiating repairs or planning mitigation.
For real estate transactions, timing matters. Testing too early can leave no room for confirmation or mitigation before closing. Testing too late can create pressure to make decisions based on incomplete information. Discuss the contract timeline with the testing professional and make sure the test follows applicable local requirements and the terms of the transaction.
Florida and Kentucky property owners should not assume that regional climate or local reputation eliminates radon concerns. Any home or building can be tested, and the result from that individual structure is what matters.
A radon test is a straightforward step, but the details determine whether the result is useful. Place the device correctly, maintain proper test conditions, use an appropriate laboratory or qualified professional, and act on documented results. That approach gives you something more valuable than a guess: a clear basis for protecting the people who live or work inside the property.
Recent Posts