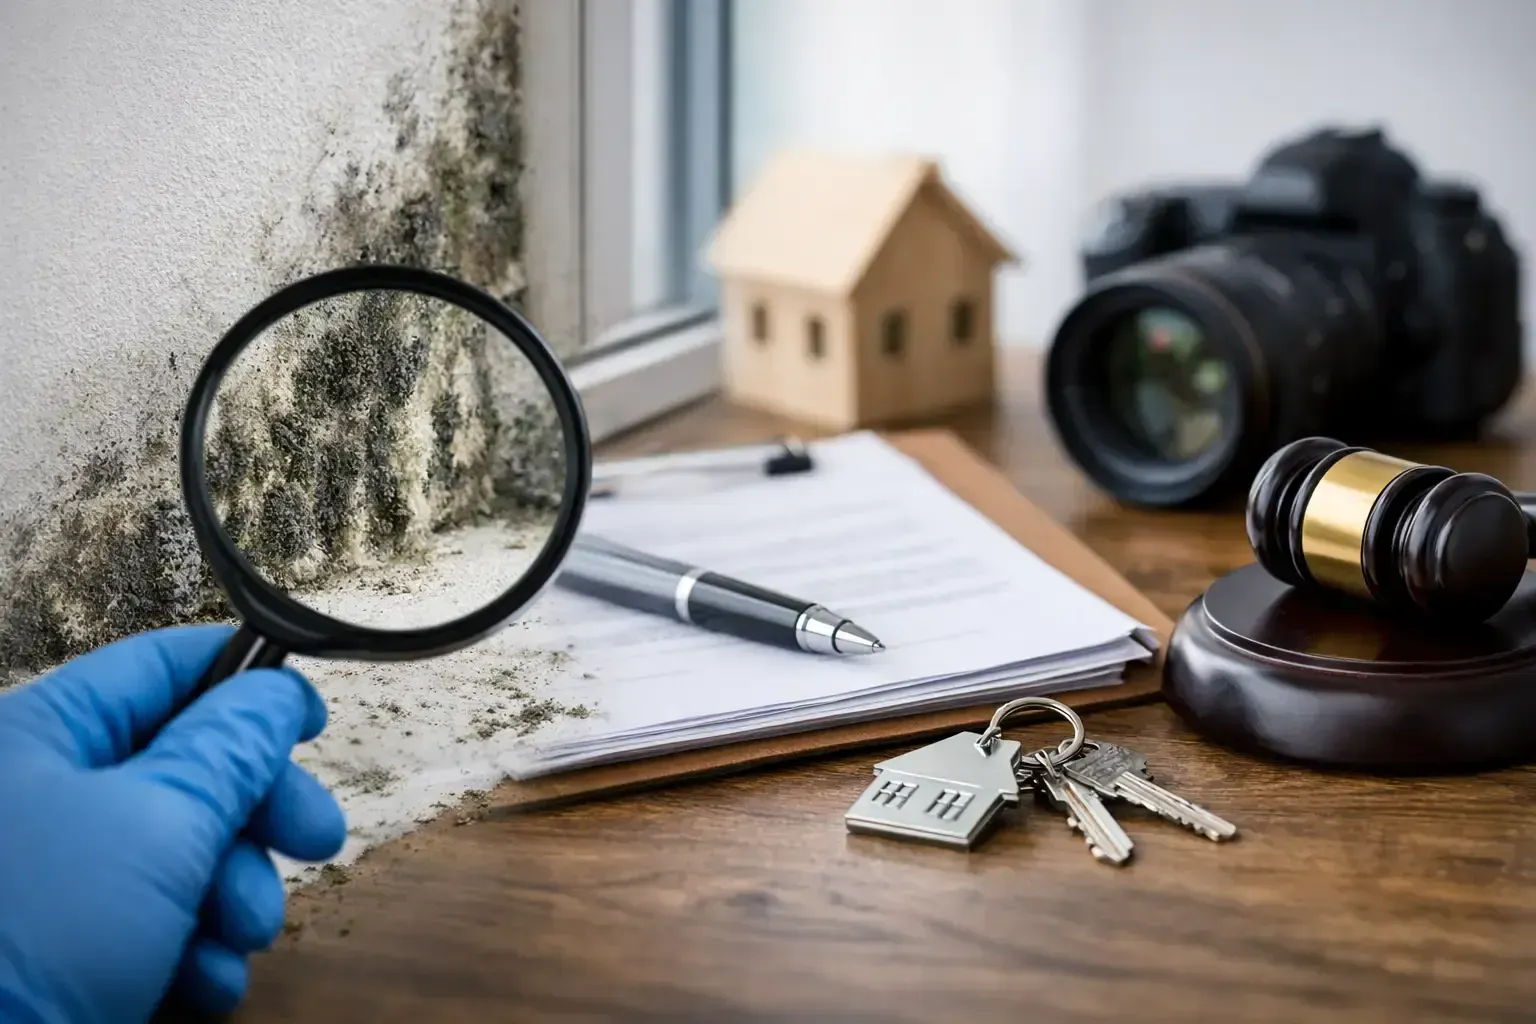
Common Mistakes When Documenting Sewage Contamination
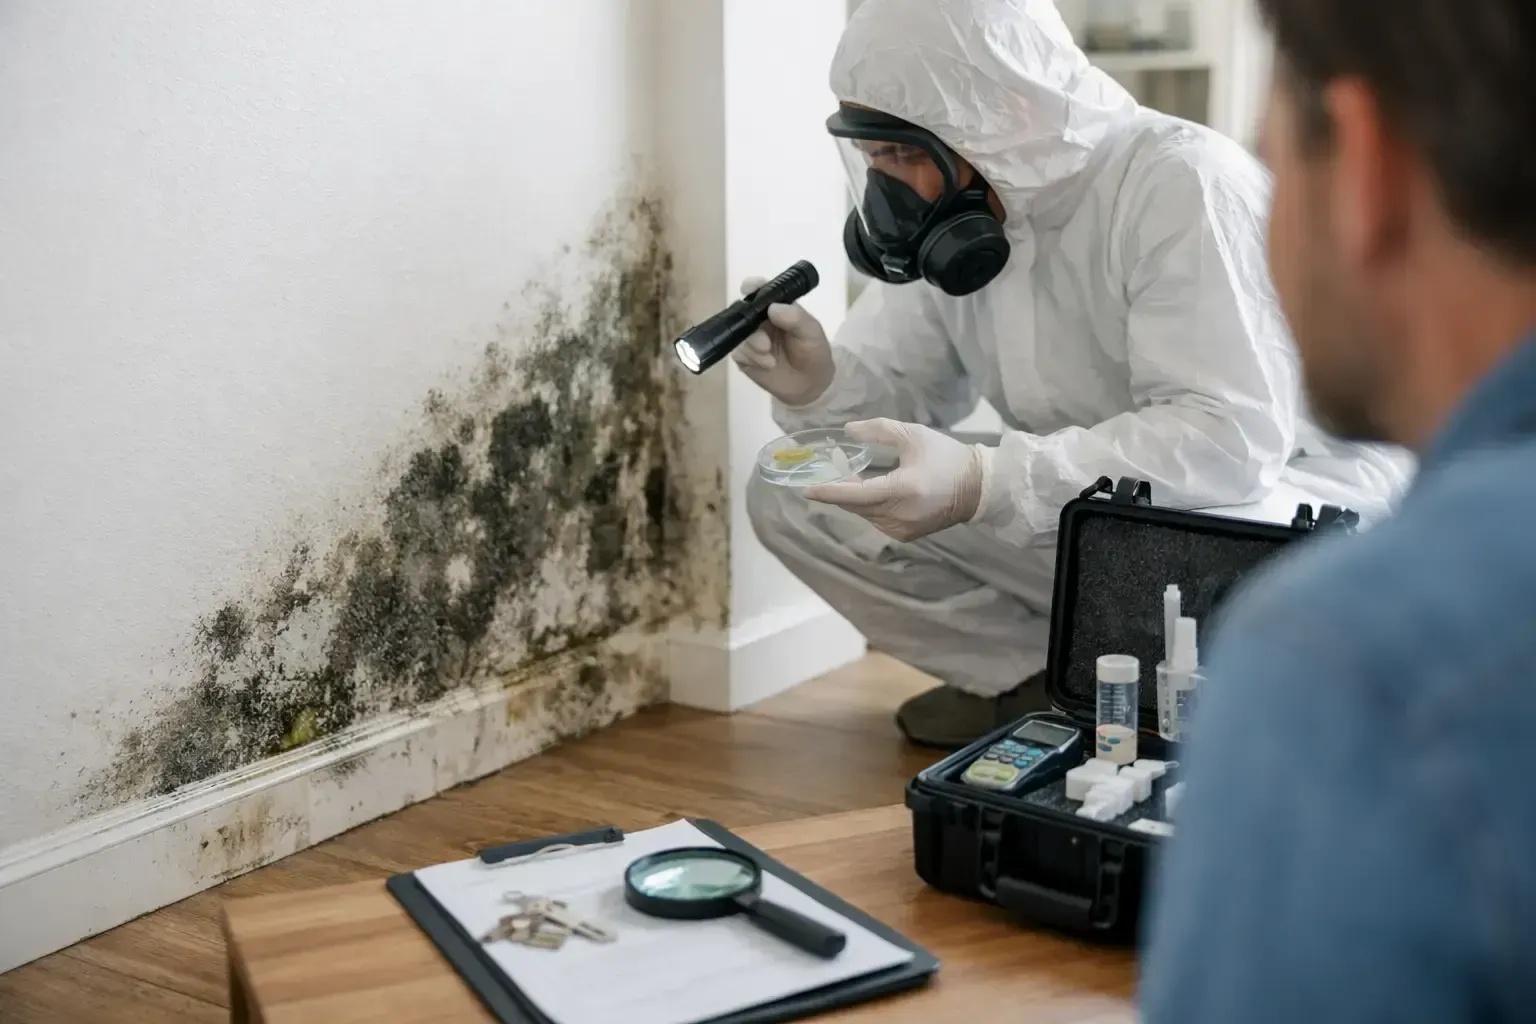
The quality of the report depends on the quality of the inspection. You want someone who understands moisture behavior, building materials, contamination categories, and the difference between visible damage and actual spread. The report should be direct, specific, and supported by field findings, not vague language.
It also helps to work with a company that can explain results in plain English. Technical accuracy matters, but so does communication. When people are dealing with damage to a home, rental, office, or investment property, they need answers they can act on.
In Florida and Kentucky, where weather, humidity, plumbing failures, and hidden moisture issues can all play a role, a thorough assessment is one of the smartest early steps you can take. Hanes Environmental provides that kind of clear, field-based reporting so property owners know what they are dealing with before the damage gets worse.
The sooner you replace assumptions with documented facts, the easier it becomes to protect the building, the people inside it, and the money it will take to set things right.
Why Interpretation Matters More Than the Lab Report Alone
If the property recently had a leak, flood, or AC overflow, timing matters. Testing too early can miss developing growth, while waiting too long can allow contamination to spread. In many cases, the first priority after water damage is drying and stabilizing the structure quickly. Once materials remain wet beyond a day or two, the risk of mold increases significantly.
After water damage, testing usually focuses on the affected materials, adjacent rooms, and HVAC impact if the system ran during the event. Moisture mapping is essential here. Water often travels farther than the visible stain suggests, especially under flooring and inside wall cavities.
If remediation has already been performed, post-remediation verification testing may be the next step. That type of testing checks whether contamination has been properly removed and whether the area is dry and ready for rebuild. For property owners, buyers, managers, and contractors, that documentation can be just as important as the initial diagnosis.
Use the checklist as a screening tool, not a final diagnosis. Walk the property slowly. Start where water is most likely, then expand outward to adjacent rooms and connected systems such as HVAC and crawl spaces. Document what you see, what you smell, and what history you know.
If your inspection reveals isolated humidity staining, you may only need better ventilation and moisture control. If it reveals recurring leaks, soft materials, spreading discoloration, or widespread odor, the safer move is a professional mold assessment with testing where appropriate.
When indoor conditions feel off, delay usually makes the situation more expensive. A careful inspection done early can protect your health, your property, and your documentation if the issue turns into a real estate, insurance, or tenant matter.
The best closing thought is simple: trust what the building is telling you. If you see moisture, smell mustiness, or notice damage that does not make sense, act on it before a small problem becomes hidden contamination.
Room-by-room Inspection Points
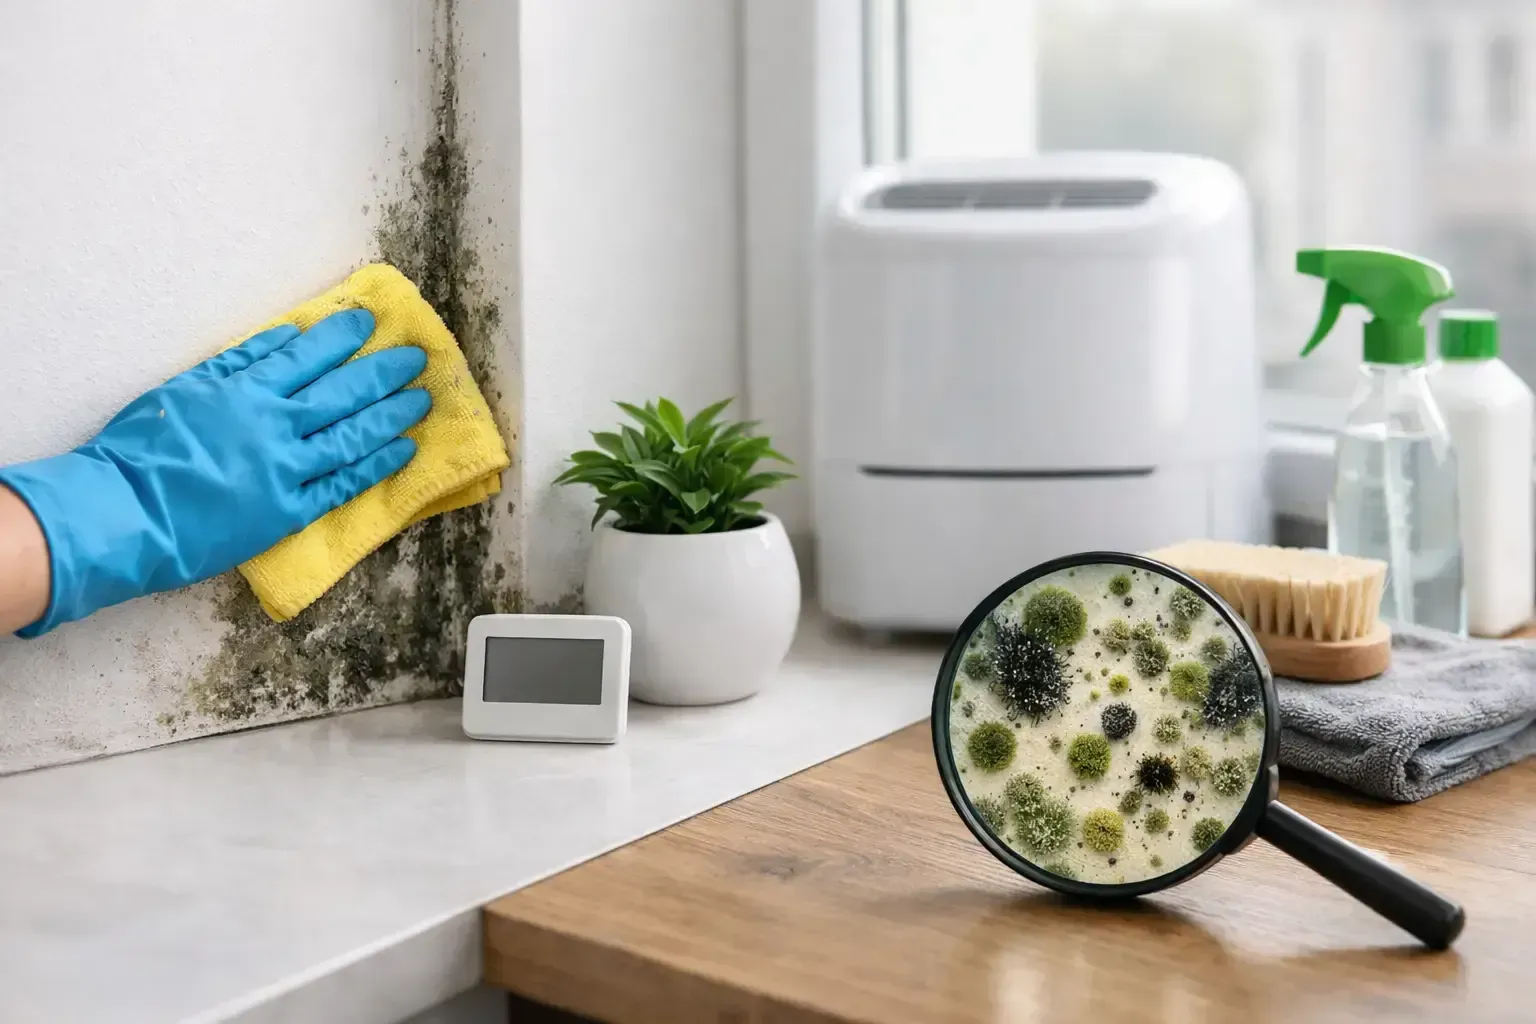
A bathroom exhaust fan that never runs, a slow drip beneath a sink, or a humid Florida afternoon can create the conditions mold needs without producing an obvious warning. The best mold prevention tips indoors all come back to one principle: control moisture quickly, consistently, and throughout the building. Mold spores are naturally present in indoor and outdoor air. The preventable problem begins when those spores find a damp surface and remain wet long enough to grow.
For homeowners, renters, property managers, and business owners, prevention protects more than walls and flooring. It can reduce repair costs, preserve indoor air quality, limit tenant complaints, and prevent a small water issue from becoming a documented contamination concern.
1. Keep Indoor Humidity in a Controlled Range
Indoor relative humidity should generally stay between 30% and 50%. In Florida, that often requires more than setting the thermostat and hoping the air conditioner handles the load. In Kentucky, humid summers, damp basements, and seasonal temperature changes can produce the same problem.
Use a reliable hygrometer in moisture-prone areas such as bathrooms, laundry rooms, basements, utility rooms, and enclosed closets. If readings remain above 55%, identify why. The air conditioner may be oversized, undersized, poorly maintained, or unable to remove enough moisture for the property. A portable dehumidifier can help in a targeted area, but it is not a permanent answer to a roof leak, plumbing leak, poor drainage condition, or chronic ventilation failure.
Empty and clean dehumidifier reservoirs regularly. A neglected unit can become a contamination source itself. If possible, choose a unit with continuous drainage so water does not sit in the tank.
2. Vent Moisture Outside, Not Into the Building
Bathrooms, kitchens, laundry rooms, and commercial break areas generate significant moisture. Exhaust fans should discharge outdoors through properly connected ductwork, not into an attic, crawl space, ceiling cavity, or enclosed garage. Venting warm, wet air into those spaces can create concealed mold growth on framing, insulation, sheathing, or drywall.
Run the bathroom fan during showers and for at least 20 minutes afterward. In a busy household or a rental property, a timer switch can make this easier to manage. Kitchen ventilation matters as well, especially when boiling water or cooking on gas. A range hood that recirculates air may reduce odors and grease but does not remove moisture as effectively as one vented outdoors.
Dryers must vent to the exterior with intact, unobstructed ducting. If a laundry room feels unusually warm, humid, or musty during use, inspect the dryer vent path promptly.
3. Respond to Water Damage on the Same Day
Mold can begin growing on wet building materials within 24 to 48 hours. That is why drying time matters as much as the size of the water event. A small overflow that is cleaned from the visible floor may still have reached baseboards, subflooring, wall cavities, cabinetry, or nearby carpet padding.
After a leak, overflow, appliance failure, or storm intrusion, stop the water source first. Then remove standing water, move wet contents, and increase drying with air movement and dehumidification. Do not simply close the door and wait for the area to dry on its own.
The right response depends on the water source and what was affected. Clean water from a supply line may be manageable if addressed immediately. Water from a toilet overflow, sewage backup, flood event, or contaminated source requires more caution because bacteria and other contaminants may be present along with moisture. Porous materials affected by contaminated water often cannot be safely cleaned and dried in place.
4. Inspect the Quiet Areas Where Moisture Hides
Visible mold is not always the first sign. Musty odors, peeling paint, warped baseboards, buckled flooring, staining, and recurring condensation can all point to hidden moisture. Check under sinks, around toilets, behind refrigerators, near water heaters, inside HVAC closets, and around windows and exterior doors.
Pay close attention to areas that are rarely opened or moved. Furniture placed tightly against an exterior wall can restrict airflow and allow condensation to form behind it. Closets packed wall to wall can do the same, particularly if they share a wall with a bathroom or laundry room. Leave a little space for air circulation and investigate any persistent odor rather than masking it with fragrance.
For commercial properties, inspect mechanical rooms, roof penetrations, plumbing chases, vacant suites, and areas below restrooms or rooftop HVAC equipment. A slow leak can continue for months before it stains a ceiling tile or damages occupied space.
5. Maintain the HVAC System and Watch for Condensation
Your HVAC system has a direct role in indoor moisture control. Change filters on schedule, keep supply and return vents unobstructed, and have the system serviced when it cannot maintain a comfortable temperature or humidity level. A dirty evaporator coil, blocked condensate drain, damaged drain pan, or poorly insulated duct can contribute to moisture problems.
Inspect the condensate line and the area around the air handler. Standing water, rust, slime buildup, or staining should be addressed before the drain backs up. In warm, humid climates, poorly insulated supply ducts can also sweat when they pass through hot attics, garages, or unconditioned cavities.
Do not close too many vents in an attempt to save energy. Restricting airflow can create temperature differences and condensation risks in certain rooms. If one area of the building remains damp or noticeably warmer than the rest, the issue may involve design, ductwork, insulation, or equipment performance rather than housekeeping.
6. Keep Outdoor Water From Becoming an Indoor Problem
Many indoor mold problems begin outside the building envelope. Keep gutters clear, direct downspouts away from the foundation, and confirm that soil slopes away from the structure. Water should not pond beside exterior walls after rain.
Inspect roofing, flashing, window seals, siding transitions, and exterior penetrations around pipes, cables, and vents. In Florida, wind-driven rain and severe storms can expose weak points quickly. In Kentucky, freeze-thaw cycles can open gaps and worsen existing cracks. A stain that appears only after heavy rain is a reason to investigate, even if it dries between storms.
Crawl spaces and basements deserve special attention. Ground moisture can move upward into a structure, and foundation leaks can raise humidity in adjacent living areas. Vapor barriers, drainage corrections, dehumidification, or crawl-space encapsulation may be appropriate, but the correct solution depends on the source and construction of the building.
7. Clean Small Surface Growth Carefully
A small amount of surface mold on a hard, nonporous material may be cleaned if the moisture source has been corrected. Wear gloves and appropriate respiratory protection, avoid dry brushing, and clean the surface with detergent and water or another suitable cleaning method. Dry it completely afterward.
Cleaning is not the same as solving the problem. If growth returns, the material remains damp, or the area has a strong odor, there is likely an unresolved moisture condition. Painted drywall, insulation, carpet, upholstery, particleboard, and ceiling tiles are porous or semi-porous materials. Once they are significantly affected, removal may be more reliable than repeated surface cleaning.
Avoid assuming bleach is a universal mold solution. It may discolor materials, create fumes, and does not correct moisture inside porous building materials or hidden cavities.
8. Know When Prevention Needs Professional Investigation
The best mold prevention tips indoors work well when the source is clear and the affected area is limited. They are not a substitute for a qualified assessment when the building shows signs of a larger or concealed issue.
Professional evaluation is warranted when you have:
- A persistent musty odor with no visible source
- Repeated mold growth after cleaning
- Water damage affecting walls, ceilings, flooring, or HVAC components
- A sewage backup, storm intrusion, or contaminated water event
- Tenant, employee, buyer, or occupant health and liability concerns
- A need for documented findings for a real estate, insurance, or remediation decision
A thorough assessment can identify moisture patterns, inspect suspect materials, document conditions, and recommend the proper next step. Where sampling is appropriate, laboratory-supported testing can provide a clearer picture than visual observation alone. Testing should answer a specific question, not replace a complete inspection of the property.
Prevention is a Routine, Not a One-time Project
The most effective prevention plan is simple: monitor humidity, repair water entry quickly, ventilate moisture-producing rooms, and investigate warning signs before damage spreads. Set monthly reminders to check under sinks, inspect HVAC drainage, and look for changes around windows, ceilings, and baseboards. After storms or plumbing work, add a closer inspection.
If a property has recurring odors, unexplained moisture, or damage that extends beyond a small, visible area, clear documentation can protect both the building and the people inside it. Hanes Environmental provides detailed environmental assessments and water damage evaluations for property owners who need dependable answers before a moisture issue becomes a larger restoration problem.
Recent Posts