Common Mistakes When Documenting Sewage Contamination
The quality of the report depends on the quality of the inspection. You want someone who understands moisture behavior, building materials, contamination categories, and the difference between visible damage and actual spread. The report should be direct, specific, and supported by field findings, not vague language.
It also helps to work with a company that can explain results in plain English. Technical accuracy matters, but so does communication. When people are dealing with damage to a home, rental, office, or investment property, they need answers they can act on.
In Florida and Kentucky, where weather, humidity, plumbing failures, and hidden moisture issues can all play a role, a thorough assessment is one of the smartest early steps you can take. Hanes Environmental provides that kind of clear, field-based reporting so property owners know what they are dealing with before the damage gets worse.
The sooner you replace assumptions with documented facts, the easier it becomes to protect the building, the people inside it, and the money it will take to set things right.
Why Interpretation Matters More Than the Lab Report Alone
If the property recently had a leak, flood, or AC overflow, timing matters. Testing too early can miss developing growth, while waiting too long can allow contamination to spread. In many cases, the first priority after water damage is drying and stabilizing the structure quickly. Once materials remain wet beyond a day or two, the risk of mold increases significantly.
After water damage, testing usually focuses on the affected materials, adjacent rooms, and HVAC impact if the system ran during the event. Moisture mapping is essential here. Water often travels farther than the visible stain suggests, especially under flooring and inside wall cavities.
If remediation has already been performed, post-remediation verification testing may be the next step. That type of testing checks whether contamination has been properly removed and whether the area is dry and ready for rebuild. For property owners, buyers, managers, and contractors, that documentation can be just as important as the initial diagnosis.
Use the checklist as a screening tool, not a final diagnosis. Walk the property slowly. Start where water is most likely, then expand outward to adjacent rooms and connected systems such as HVAC and crawl spaces. Document what you see, what you smell, and what history you know.
If your inspection reveals isolated humidity staining, you may only need better ventilation and moisture control. If it reveals recurring leaks, soft materials, spreading discoloration, or widespread odor, the safer move is a professional mold assessment with testing where appropriate.
When indoor conditions feel off, delay usually makes the situation more expensive. A careful inspection done early can protect your health, your property, and your documentation if the issue turns into a real estate, insurance, or tenant matter.
The best closing thought is simple: trust what the building is telling you. If you see moisture, smell mustiness, or notice damage that does not make sense, act on it before a small problem becomes hidden contamination.
Room-by-room Inspection Points
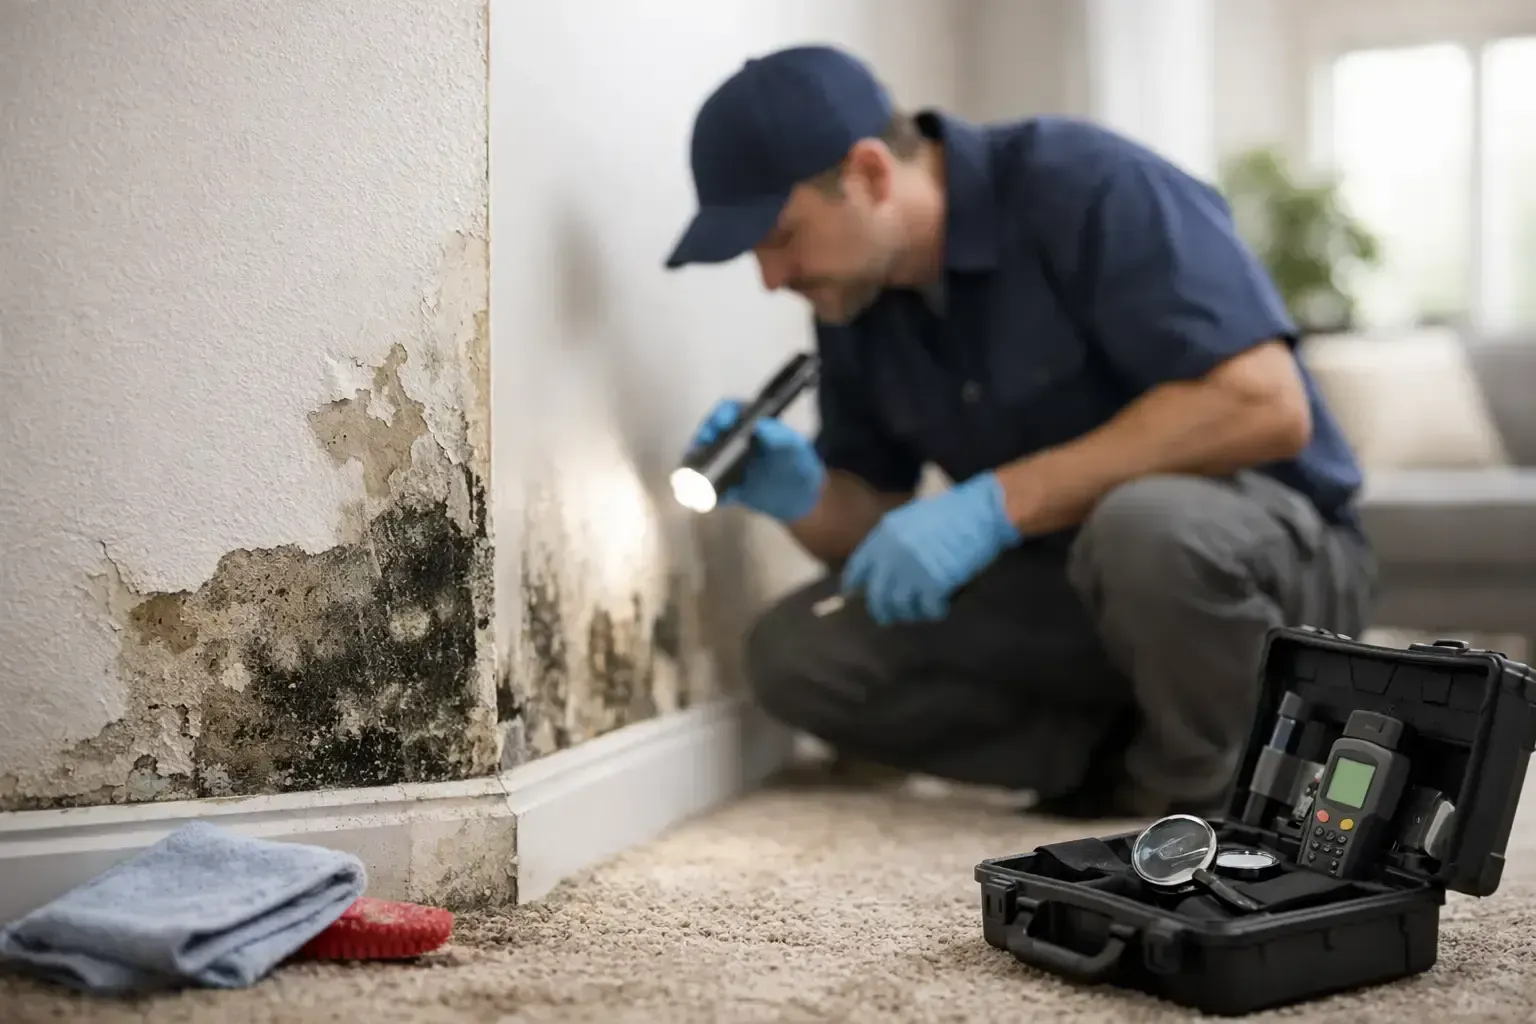
A mold inspection is most useful when the conditions that caused concern are still visible, measurable, and documented. Knowing how to prepare for mold inspection does not mean making the property look perfect. It means preserving the evidence, providing clear access, and giving the inspector an accurate picture of what has happened in the building.
That distinction matters. A quick bleach treatment, fresh paint, or a strong air freshener may make an area seem better temporarily, but it can interfere with the inspection and leave the underlying moisture problem unresolved. If mold is present, the goal is to identify where moisture is coming from, how far the impact extends, and what documentation is needed to make informed repair or remediation decisions.
Do Not Clean Away the Evidence Before the Inspection
If you can safely leave a suspected area alone, do so. Avoid spraying visible growth with bleach, vinegar, antimicrobial products, or odor-covering products before the inspection. Do not paint over staining, remove damaged baseboards, or discard water-damaged materials unless there is an immediate safety or emergency restoration reason to act.
Visible staining does not always confirm mold, and mold growth is not always visible. Still, discoloration, peeling paint, warped flooring, musty odors, and damp drywall provide useful clues. An inspector may need to assess material conditions, check moisture levels, examine nearby building components, or determine whether testing is appropriate.
There are exceptions. If a pipe is actively leaking,
sewage is present, or water is entering the property during a storm, stop the source and begin appropriate drying or emergency cleanup immediately. Protecting the building and its occupants comes first. Take photos before work begins, keep damaged materials if practical, and record what was removed or dried. That information helps connect the inspection findings to the original water event.
Prepare the Space for Access, Not Appearance
A thorough mold assessment often requires access to areas people rarely inspect closely. This can include closets, cabinets under sinks, HVAC closets, attics, crawlspaces, utility rooms, garages, bathrooms, and the perimeter of rooms affected by water intrusion.
Move furniture, stored boxes, clothing, and personal belongings away from suspected walls or areas with staining when possible. An inspector does not need an empty home, but clear working room makes it possible to examine surfaces, take moisture readings, and identify patterns around windows, plumbing fixtures, exterior walls, and air-conditioning equipment.
If a leak occurred behind a refrigerator, washing machine, dishwasher, or large piece of furniture, explain that before the inspection begins. Do not assume the lack of visible damage means the area is unaffected. Slow leaks can remain concealed for weeks or months and may affect flooring, wall cavities, or adjacent rooms.
For commercial properties, property managers should arrange access to mechanical rooms, roof access points, tenant spaces, janitorial closets, and any areas tied to a reported odor or moisture complaint. Limited access can limit the scope of an assessment, especially when the concern involves a shared plumbing line, HVAC system, or exterior building envelope.
Keep Normal Indoor Conditions as Much as Possible
Unless the inspector gives you different instructions, keep the property in its normal operating condition before the appointment. Run the air conditioning or heating system as you normally would. Keep windows and exterior doors closed if they are normally closed during the day.
This is especially relevant when indoor air or surface sampling may be part of the scope. Open windows, portable air purifiers, dehumidifiers, fans, heavy cleaning, and odor treatments can change indoor conditions. They may not eliminate a problem, but they can alter what is observed or measured at the time of inspection.
Do not turn off the HVAC system simply because you suspect mold. The system may be part of the investigation. Air handlers, drain pans, condensate lines, ductwork, and high indoor humidity can all contribute to moisture concerns. If the system has been shut down because of an electrical issue, flood damage, or a confirmed contamination concern, tell the inspector why and when it was turned off.
If you use a portable dehumidifier because the space is chronically damp, there is no universal answer. In an emergency, use it to reduce moisture and prevent further damage. For a scheduled inspection, ask the inspection provider whether it should remain in normal use. The correct approach depends on whether the focus is a visible moisture issue, an air-quality concern, or post-remediation verification.
Gather the History That Explains the Problem
The most valuable preparation is often a simple timeline. Mold growth requires moisture, but the moisture source may not be obvious during a single visit. A homeowner, tenant, manager, or maintenance team can provide details that no instrument can supply.
Before the appointment, write down when you first noticed the odor, stain, leak, humidity issue, or health-related concern. Include whether the problem started after a roof leak, appliance failure, plumbing backup, hurricane, flood, fire-suppression discharge, or HVAC malfunction. Note which rooms are affected and whether the condition changes after rain, when the air conditioning runs, or at certain times of day.
Helpful records include photos from the original water event, plumbing invoices, roof repair records, restoration invoices, prior mold reports, insurance claim information, maintenance requests, and emails between tenants and property management. You do not need every document organized into a formal file. Even a few dates and photos can help establish whether the concern is active, recurring, or related to an earlier event.
For real estate transactions, disclose known water events and prior repairs rather than trying to manage the appearance of the property before a pre-purchase inspection. Accurate findings protect buyers, sellers, and real estate professionals from disputes after closing. A clean-looking wall is not the same as documented resolution.
Tell the Inspector About Health and Occupancy Concerns
A mold inspection evaluates the building and environmental conditions. It does not diagnose medical conditions. However, occupant experiences can help identify locations and patterns worth investigating.
Explain if occupants notice coughing, eye irritation, headaches, unusual odors, or symptoms that improve when they leave the building. Also mention if anyone in the property has asthma, severe allergies, a compromised immune system, or other health vulnerabilities. The inspector can use this information to recommend appropriate caution, prioritize areas of concern, and explain when a healthcare provider should be consulted.
If children, pets, elderly residents, or employees occupy an area with visible mold, active leaks, sewage contamination, or significant water damage, limit unnecessary exposure until the condition is evaluated. Do not disturb suspect materials, scrape growth, or run fans directly across contaminated surfaces. Disturbance can spread particles to previously unaffected areas.
Make Sure Utilities and Key Systems Are Available
Keep electricity, water, and HVAC systems available when it is safe to do so. Moisture meters, thermal imaging, humidity measurements, and HVAC observations are more meaningful when the building is operating under typical conditions.
If a utility has been disconnected, or if the property is vacant, let the inspection company know before the scheduled visit. Vacant homes can have different humidity patterns, plumbing risks, and ventilation conditions than occupied homes. The inspection plan may need to account for that.
Provide access to relevant areas and authorize entry if the property will be vacant or tenant-occupied. In multi-unit buildings, the suspected source may be above, below, or beside the unit where symptoms first appeared. Coordinated access can prevent repeated visits and help identify the actual pathway of water intrusion.
Understand What Testing Can and Cannot Answer
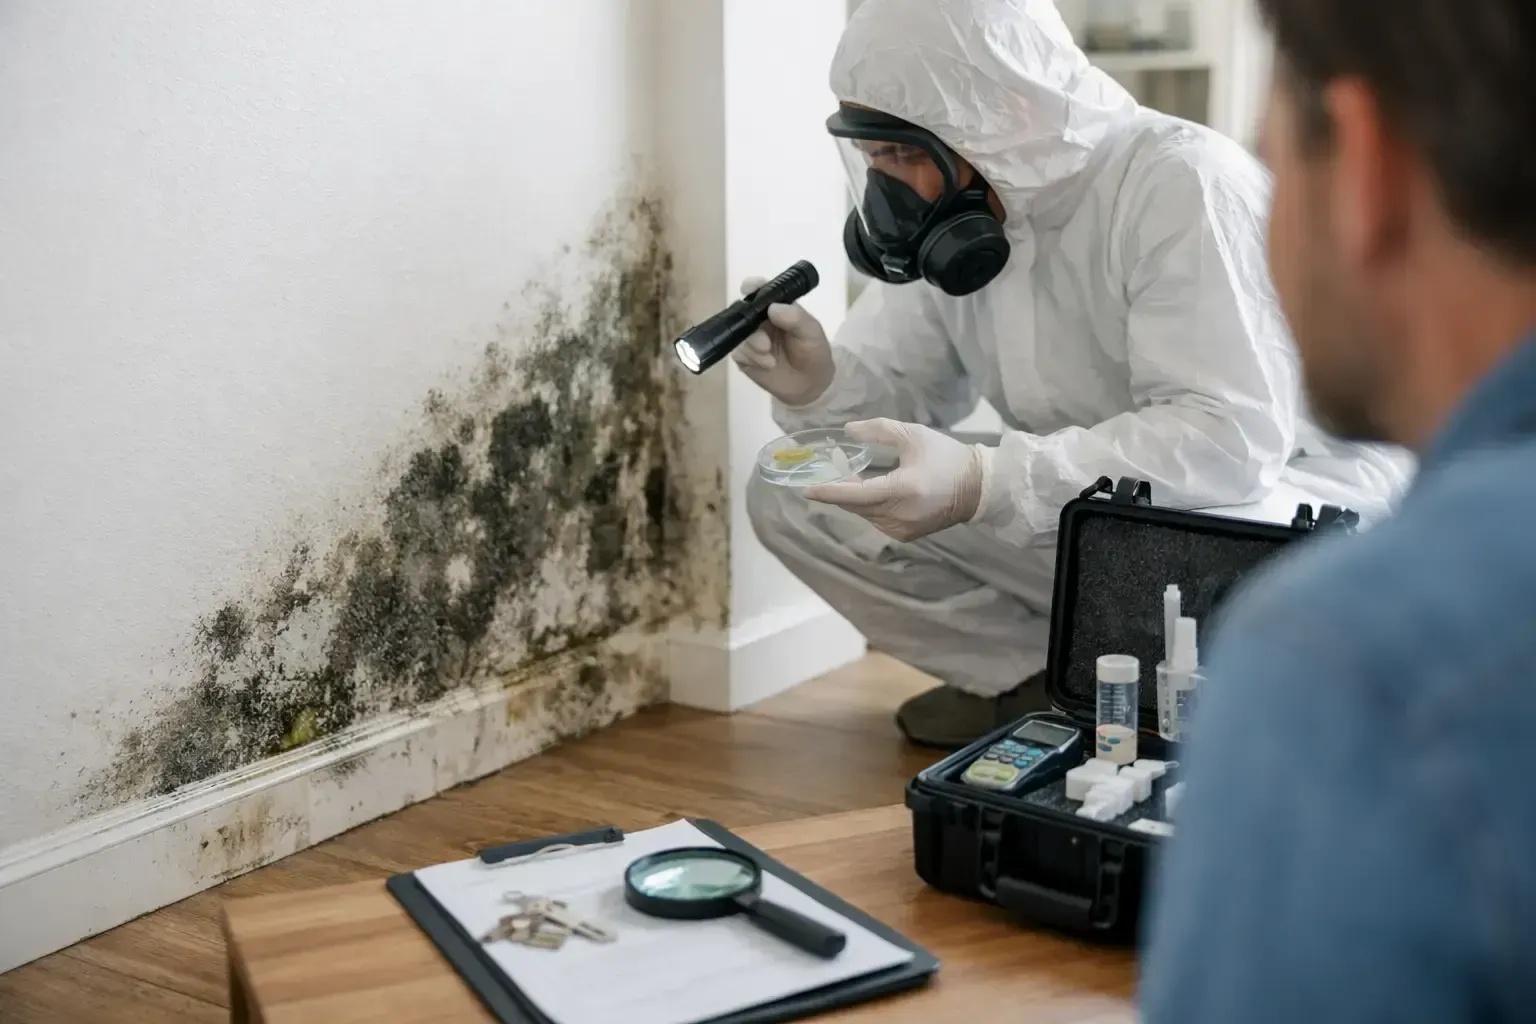
Not every mold concern requires the same type of testing. A qualified inspection begins with the building conditions, moisture history, visible evidence, and scope of concern. Air, surface, tape-lift, bulk, or dust sampling may be recommended when laboratory documentation will help answer a specific question.
Testing can support a mold assessment, document conditions for a buyer, insurer, landlord, tenant, or remediation project, and help compare indoor and outdoor air conditions when appropriate. It cannot, by itself, identify every hidden source, prove the exact age of growth, or replace a careful moisture investigation.
Be clear about why you need the inspection. Are you trying to locate a recurring leak, document conditions for an insurance claim, evaluate a property before purchase, address a tenant complaint, or verify that remediation was completed properly? The purpose affects the inspection scope and the kind of reporting that will be most useful.
For post-remediation verification, the area should be cleaned, dry, and ready for evaluation according to the remediation plan. Do not schedule clearance testing while demolition, containment work, or drying is still underway unless the goal is to assess that active work.
Ask for Clear Findings and a Practical Next Step
A dependable mold inspection should leave you with more than a verbal opinion. Ask what was observed, where moisture was detected, what limitations affected the inspection, whether samples were collected, and what the results mean in plain language. If corrective work is needed, the report should help define the next step without creating confusion about the problem.
Hanes Environmental approaches mold concerns with the same priority property owners need most: accurate conditions, defensible documentation, and a clear path forward. Preparing honestly helps protect that process.
Your job before the inspection is simple: prevent further damage when necessary, preserve what happened, and make the affected areas accessible. The more accurately the building tells its story, the more confidently you can decide what needs to be repaired, cleaned, or monitored next.
Recent Posts