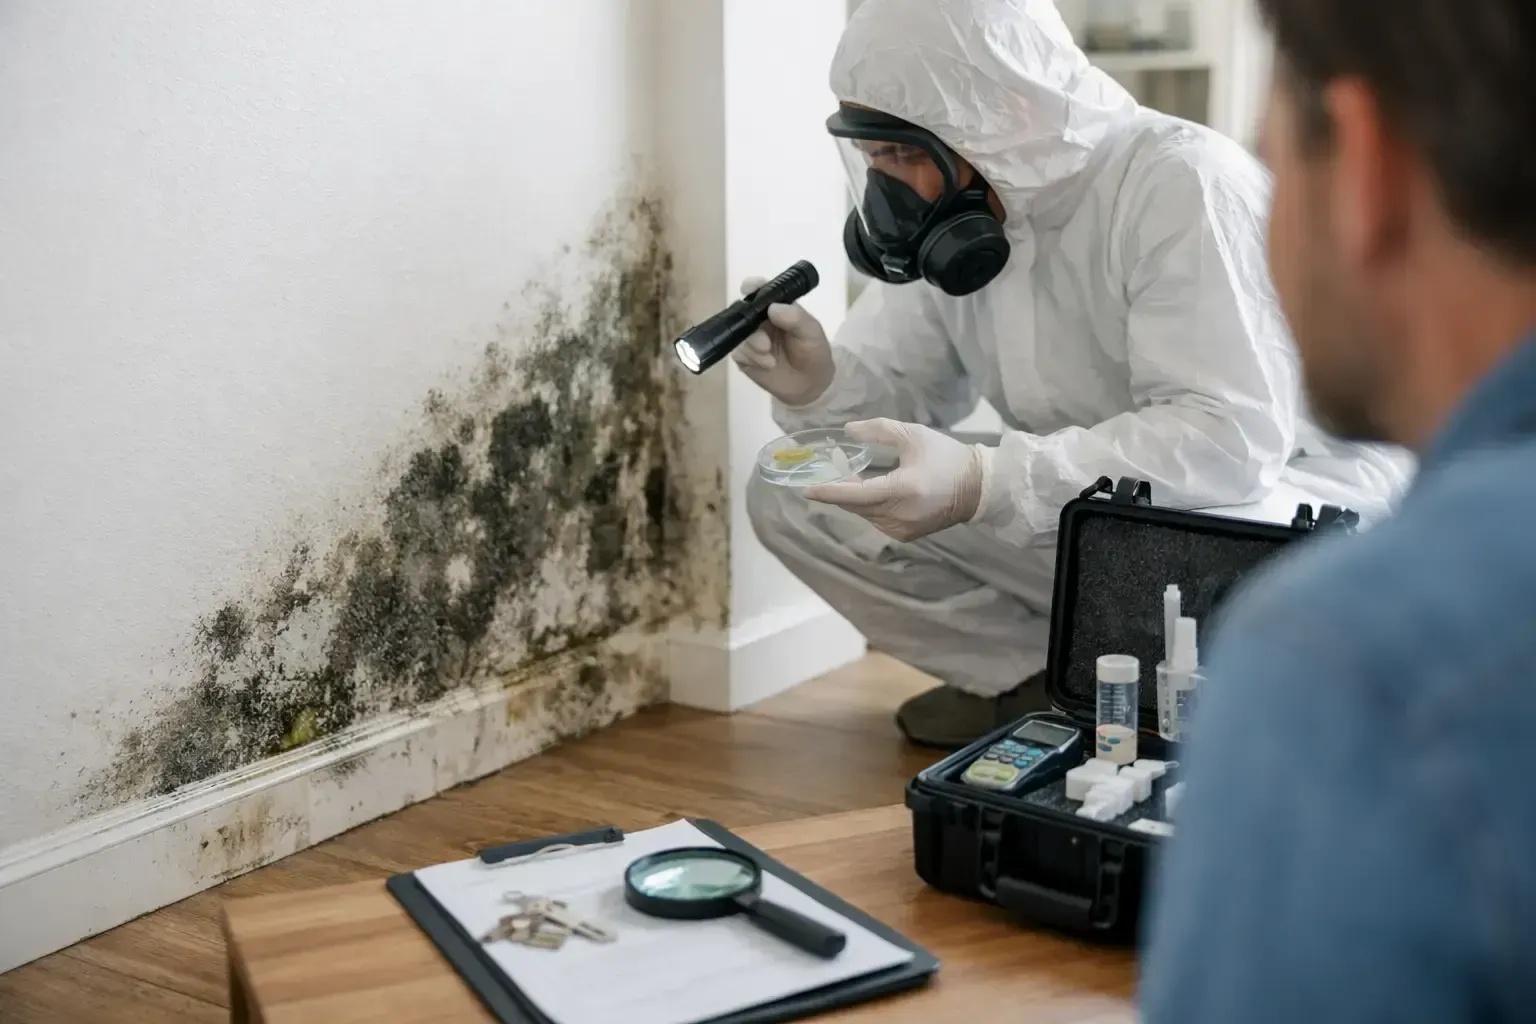
Common Mistakes When Documenting Sewage Contamination
The quality of the report depends on the quality of the inspection. You want someone who understands moisture behavior, building materials, contamination categories, and the difference between visible damage and actual spread. The report should be direct, specific, and supported by field findings, not vague language.
It also helps to work with a company that can explain results in plain English. Technical accuracy matters, but so does communication. When people are dealing with damage to a home, rental, office, or investment property, they need answers they can act on.
In Florida and Kentucky, where weather, humidity, plumbing failures, and hidden moisture issues can all play a role, a thorough assessment is one of the smartest early steps you can take. Hanes Environmental provides that kind of clear, field-based reporting so property owners know what they are dealing with before the damage gets worse.
The sooner you replace assumptions with documented facts, the easier it becomes to protect the building, the people inside it, and the money it will take to set things right.
Why Interpretation Matters More Than the Lab Report Alone
If the property recently had a leak, flood, or AC overflow, timing matters. Testing too early can miss developing growth, while waiting too long can allow contamination to spread. In many cases, the first priority after water damage is drying and stabilizing the structure quickly. Once materials remain wet beyond a day or two, the risk of mold increases significantly.
After water damage, testing usually focuses on the affected materials, adjacent rooms, and HVAC impact if the system ran during the event. Moisture mapping is essential here. Water often travels farther than the visible stain suggests, especially under flooring and inside wall cavities.
If remediation has already been performed, post-remediation verification testing may be the next step. That type of testing checks whether contamination has been properly removed and whether the area is dry and ready for rebuild. For property owners, buyers, managers, and contractors, that documentation can be just as important as the initial diagnosis.
Use the checklist as a screening tool, not a final diagnosis. Walk the property slowly. Start where water is most likely, then expand outward to adjacent rooms and connected systems such as HVAC and crawl spaces. Document what you see, what you smell, and what history you know.
If your inspection reveals isolated humidity staining, you may only need better ventilation and moisture control. If it reveals recurring leaks, soft materials, spreading discoloration, or widespread odor, the safer move is a professional mold assessment with testing where appropriate.
When indoor conditions feel off, delay usually makes the situation more expensive. A careful inspection done early can protect your health, your property, and your documentation if the issue turns into a real estate, insurance, or tenant matter.
The best closing thought is simple: trust what the building is telling you. If you see moisture, smell mustiness, or notice damage that does not make sense, act on it before a small problem becomes hidden contamination.
Room-by-room Inspection Points
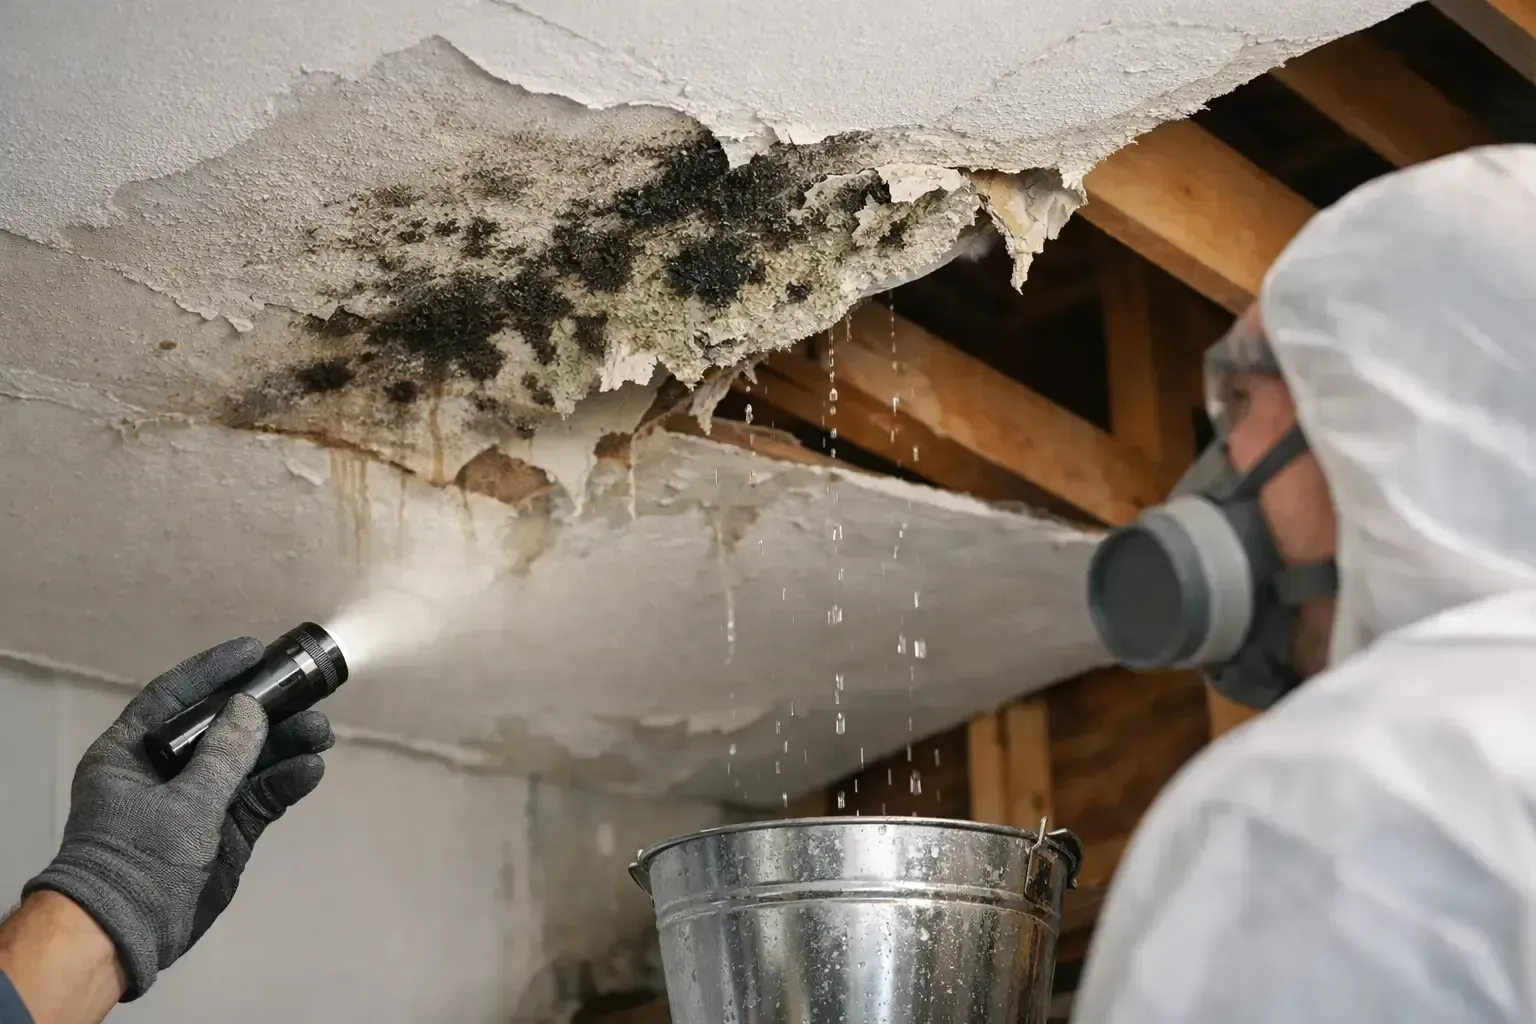
A ceiling stain may look minor, but mold found after a roof leak can signal moisture trapped far beyond the visible spot. Water can travel along roof decking, framing, insulation, drywall, and wall cavities before it appears indoors. By the time staining, an odor, or visible growth is noticed, the affected area may be larger than expected.
The priority is not to spray, paint over, or disturb the suspected mold. First, stop the water intrusion. Then determine how far moisture traveled, what materials were affected, and whether the indoor environment needs documented testing or professional restoration.
Why a Roof Leak Can Create Hidden Mold Problems
A roof leak does not have to be dramatic to create a contamination concern. Slow leaks around flashing, vents, skylights, valleys, chimneys, or damaged shingles can wet building materials repeatedly over weeks or months. Florida humidity can slow drying, while seasonal storms can reactivate a leak that seemed resolved. Kentucky properties can face similar issues after wind-driven rain, ice damage, or long periods of roof deterioration.
Mold requires moisture and a food source. Drywall paper, wood framing, insulation backing, carpeting, dust, and stored contents can all support growth when they remain damp. In many cases, the visible growth is only the surface indication of a larger moisture condition behind the ceiling or inside a wall.
That is why a repaired roof alone does not necessarily mean the property is dry or clean. The source must be corrected, but the water-damaged materials and surrounding conditions also need to be evaluated.
What to Do When Mold is Found After a Roof Leak
Start by protecting people and limiting further damage. If water is actively entering the building, move belongings away from the area when it is safe to do so. Place a container under dripping water, but do not climb onto a damaged roof or pull down a sagging, water-filled ceiling. A bulging ceiling can fail without warning.
Take clear photos and video before cleanup begins. Document the roof damage, stains, wet materials, visible growth, damaged belongings, and any dates when water was observed. Save repair invoices, drying records, emails, and insurance communications. This documentation can be valuable for an insurance claim, a tenant-landlord matter, a real estate transaction, or determining whether the problem is recurring.
Next, arrange for the roof leak to be professionally repaired. A drying effort cannot succeed if water continues to enter the structure. Once the source is controlled, affected materials should be evaluated for moisture. Moisture meters, thermal imaging, and targeted inspection can help identify areas that look dry but are not.
If the affected area is small, recent, and limited to a non-porous surface, cleanup may be straightforward after the leak is fixed and the area is fully dried. But porous materials such as wet drywall, ceiling tiles, carpet padding, insulation, and particleboard often cannot be reliably cleaned once they have supported significant mold growth. The right response depends on the material, how long it was wet, the extent of growth, and whether contamination may be concealed.
Do Not Assume Bleach Solves the Problem
Bleach is commonly used after water damage, but it is not a complete answer for mold on porous building materials. It may lighten a stain without addressing growth within drywall, wood, insulation, or other absorbent materials. It also does not correct the moisture condition that allowed the problem to develop.
Painting over staining or applying a fragrance product creates another problem: it can mask evidence while moisture and microbial growth continue behind the surface. A musty odor that returns after cleaning is a strong reason to investigate further.
Avoid aggressive demolition before the condition is documented, especially when an insurance claim, property dispute, or purchase transaction is involved. Removing materials without a plan can spread dust and contamination into clean areas, make the original extent harder to document, and complicate decisions about proper restoration.
When Professional Mold Assessment and Testing Make Sense
Not every roof leak requires laboratory testing. A small, promptly dried leak with no visible mold, no persistent odor, and no indication of moisture beyond the immediate area may only need careful repair and monitoring.
Professional assessment becomes more valuable when the history or conditions are unclear. Consider an inspection when there is visible mold, recurring ceiling staining, a musty odor, a leak that may have existed for more than a few days, wet insulation, water-damaged drywall, occupant health concerns, or a dispute over the source and scope of damage. Testing can also be appropriate before a real estate sale, after a contractor completes remediation, or when a property manager needs clear documentation for tenants and owners.
A thorough assessment is more than collecting an air sample. The inspection should evaluate the moisture source, building materials, visible conditions, affected rooms, and likely pathways where water traveled. Depending on the findings, sampling may include surface, air, bulk material, or other methods supported by the inspection objective. Laboratory results should be interpreted in context, not treated as a simple pass-or-fail answer.
For example, air testing can help compare indoor conditions with outdoor background levels and identify indicators that warrant further investigation. However, a normal air sample does not always rule out concealed mold in a closed wall or ceiling cavity. Inspection findings, moisture data, material condition, and building history all matter.
Protect Occupants During Investigation and Cleanup
People respond differently to dampness and mold exposure. Some may notice odors or irritation, while others may have no immediate symptoms. Those with asthma, allergies, respiratory conditions, or compromised immune systems may have greater concerns. The practical goal is to prevent ongoing exposure to damp materials, visible mold, and dust generated during cleanup.
Keep children, pets, and sensitive occupants away from active work areas. If removal of drywall, insulation, or other contaminated materials is necessary, the area may need containment to prevent dust from moving into occupied spaces. Restoration professionals may use physical barriers, controlled airflow, HEPA air filtration, and detailed cleaning methods based on the size and conditions of the project.
Do not run fans across visible mold or wet debris. Air movement can be useful for drying clean, wet materials after the source is stopped, but uncontrolled airflow around contaminated materials can distribute particles to other areas of the building.
The Difference Between Drying, Remediation, and Verification
These terms are often used interchangeably, but they address different parts of the problem. Drying removes excess moisture from materials that can be saved. Remediation addresses mold-damaged materials and contamination using appropriate containment, removal, cleaning, and clearance procedures. Verification evaluates whether the work achieved the intended condition after remediation.
For a roof leak, a complete project may involve all three. The roof is repaired, affected materials are dried or removed, contamination is addressed, and the completed work is evaluated before normal use resumes. Skipping a step can leave a property with hidden moisture, remaining contamination, or no clear record of what was done.
Post-remediation verification can be particularly helpful after a substantial mold project. It provides an independent, documented assessment of the remediated area rather than relying only on visual appearance. This is useful for homeowners seeking confidence, property managers closing out repairs, and real estate or insurance stakeholders who need defensible information.
Questions to Ask Before Authorizing Work
Before approving a major cleanup or restoration project, ask how the contractor will identify the full moisture extent, protect unaffected areas, handle contaminated materials, and document completed work. Ask whether damaged drywall or insulation will be removed when necessary rather than simply treated from the surface. Request clear scope details instead of relying on vague assurances that the area will be “mold treated.”
It is also reasonable to ask who is performing the assessment and whether post-remediation verification will be independent of the remediation crew. In complicated, high-value, or disputed situations, separating assessment from remediation can provide clearer documentation of the original condition and the final result.
Hanes Environmental provides mold assessments, moisture investigations, laboratory-supported testing, water damage assessments, and post-remediation verification for properties throughout Florida and in Lexington and Louisville, Kentucky. Clear findings help owners make repair decisions based on evidence instead of guesswork.
A roof leak is rarely just a roofing issue once water reaches the interior. Address it early, document the condition carefully, and make sure the building is truly dry before the stain disappears from view.
Recent Posts