Common Mistakes When Documenting Sewage Contamination
The quality of the report depends on the quality of the inspection. You want someone who understands moisture behavior, building materials, contamination categories, and the difference between visible damage and actual spread. The report should be direct, specific, and supported by field findings, not vague language.
It also helps to work with a company that can explain results in plain English. Technical accuracy matters, but so does communication. When people are dealing with damage to a home, rental, office, or investment property, they need answers they can act on.
In Florida and Kentucky, where weather, humidity, plumbing failures, and hidden moisture issues can all play a role, a thorough assessment is one of the smartest early steps you can take. Hanes Environmental provides that kind of clear, field-based reporting so property owners know what they are dealing with before the damage gets worse.
The sooner you replace assumptions with documented facts, the easier it becomes to protect the building, the people inside it, and the money it will take to set things right.
Why Interpretation Matters More Than the Lab Report Alone
If the property recently had a leak, flood, or AC overflow, timing matters. Testing too early can miss developing growth, while waiting too long can allow contamination to spread. In many cases, the first priority after water damage is drying and stabilizing the structure quickly. Once materials remain wet beyond a day or two, the risk of mold increases significantly.
After water damage, testing usually focuses on the affected materials, adjacent rooms, and HVAC impact if the system ran during the event. Moisture mapping is essential here. Water often travels farther than the visible stain suggests, especially under flooring and inside wall cavities.
If remediation has already been performed, post-remediation verification testing may be the next step. That type of testing checks whether contamination has been properly removed and whether the area is dry and ready for rebuild. For property owners, buyers, managers, and contractors, that documentation can be just as important as the initial diagnosis.
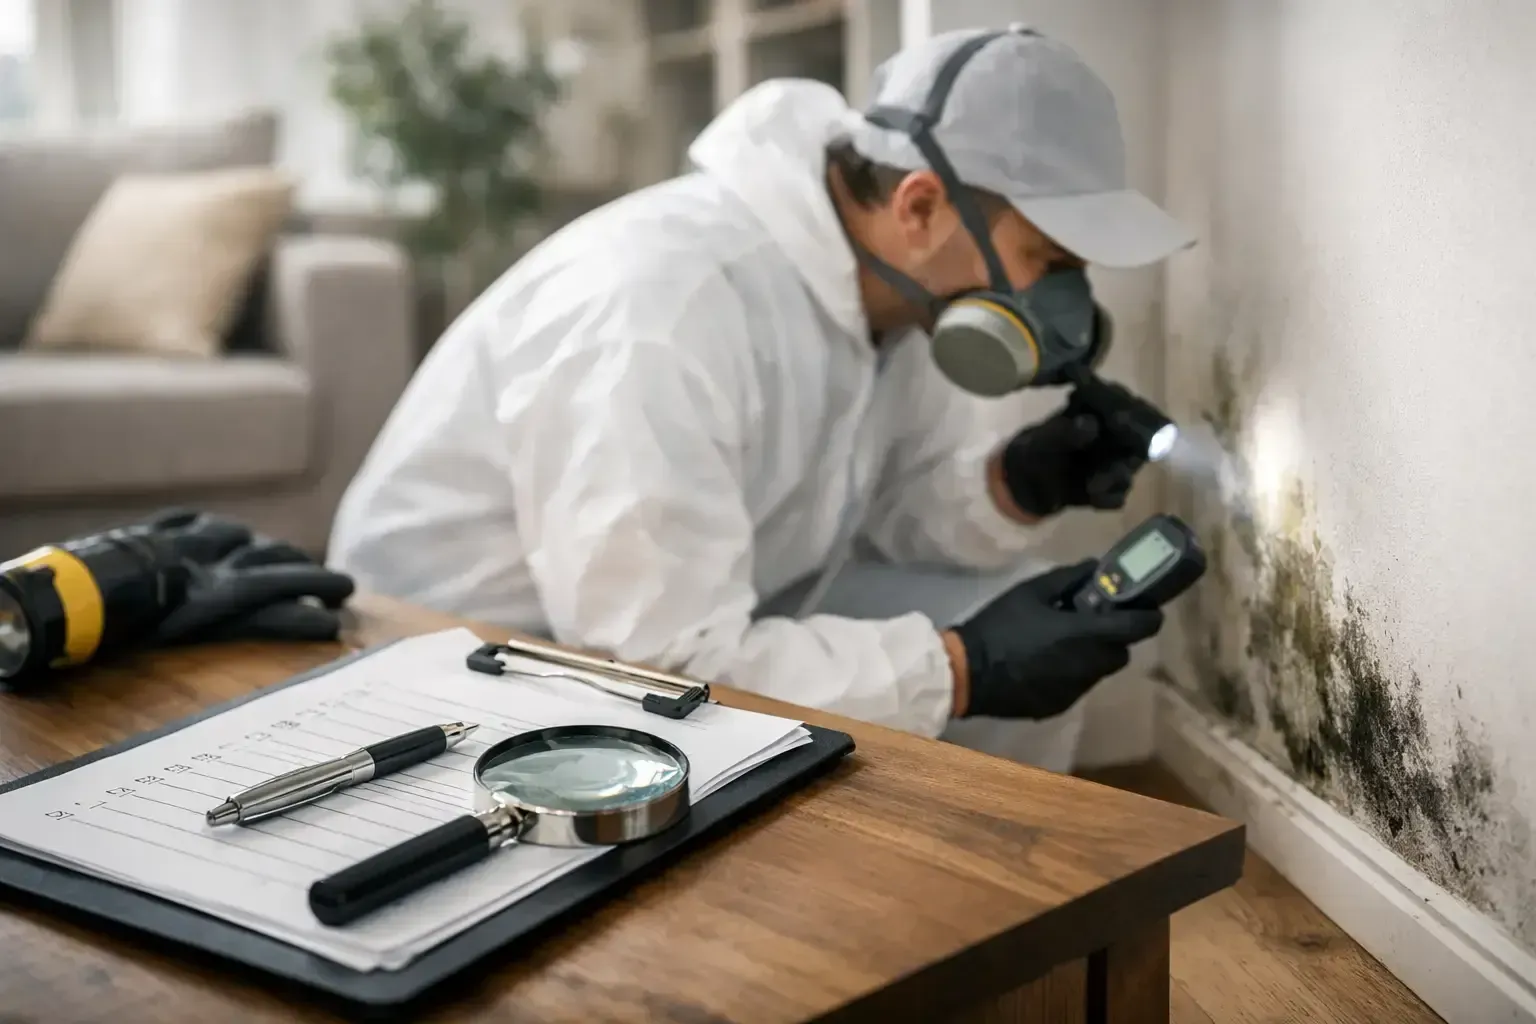
A musty smell in one room, a stain that keeps coming back, paint starting to bubble along a baseboard - these are the kinds of early warnings people notice before they ever see visible growth. A solid residential mold inspection checklist helps you look at the right areas, document what you find, and decide whether the problem is minor surface moisture or a larger hidden contamination issue.
Why a Residential Mold Inspection Checklist Matters
Mold is rarely just a cleaning issue. In many homes, it is a moisture issue first and a mold issue second. If the water source is still active, wiping the surface does not solve the real problem. The growth often returns, and in some cases it spreads behind drywall, under flooring, inside cabinets, or into HVAC components.
That is why a checklist matters. It keeps the inspection focused on evidence, not guesses. It also helps homeowners, tenants, property managers, and buyers separate cosmetic concerns from conditions that need professional assessment and testing.
A checklist is especially useful after roof leaks, plumbing failures, appliance overflows, storm intrusion, flooding, high indoor humidity, or long periods of vacancy. It is also valuable before a home purchase, after remediation, or when occupants are reporting odor or health complaints without an obvious source.
Residential Mold Inspection Checklist: Where to Look First
Start with the areas most likely to hold moisture. Bathrooms, kitchens, laundry rooms, utility closets, attics, crawl spaces, garages, and HVAC areas should always be part of the inspection. If there has been a prior leak, begin there even if the surface looks dry now.
As you move through the house, look for visible discoloration on drywall, ceilings, trim, flooring, grout, caulk, insulation, and around windows. Mold can appear black, green, white, gray, or even orange depending on the surface and the growth stage. Not every stain is mold, but recurring stains deserve attention.
Pay close attention to odor. A persistent earthy or musty smell often points to hidden moisture or microbial growth even when no visible colony is present. Odor alone does not confirm the extent of contamination, but it is a meaningful inspection clue.
Also note signs of water damage. These include peeling paint, warped trim, soft drywall, buckled flooring, swollen cabinetry, rusted fasteners, and sagging ceiling areas. Mold follows moisture, so the moisture indicators are often as important as the mold indicators.
Room-by-room Inspection Points
Bathrooms
Check around tubs, showers, toilets, sink cabinets, exhaust fans, and window frames. Look for failed caulk lines, loose tiles, darkened grout, and staining around supply lines or toilet bases. Bathrooms with poor ventilation often develop mold in corners, on ceilings, and behind vanities.
Kitchens
Inspect under sinks, behind refrigerators with water lines, around dishwashers, and near exterior walls. Cabinet interiors can hide slow plumbing leaks for months. Pay attention to particle board swelling, loose laminate, and staining where pipes pass through the back of cabinets.
Laundry Areas
Washer supply hoses, drain lines, dryer vents, and floor drain areas should be checked closely. If the room feels humid or shows lint buildup and condensation, moisture may be lingering longer than it should.
HVAC and Air Distribution
Look around air handlers, drip pans, condensate drain lines, vents, and return grilles. Dirty vents do not automatically mean mold, but moisture in HVAC components can distribute contamination and odor through the home. Filter condition, visible debris, and water around the unit all matter.
Attics and Crawl Spaces
These areas often reveal the bigger story. Roof leaks, poor ventilation, disconnected exhaust ducts, plumbing penetrations, and condensation on framing can all support mold growth. In crawl spaces, check subflooring, joists, insulation, ductwork, and foundation walls for staining, excess humidity, or standing water.
Bedrooms and Living Areas
These rooms are often overlooked because they seem dry. Still, inspect exterior wall corners, window sills, closets on outside walls, and areas behind furniture that blocks airflow. Condensation and trapped humidity can create localized growth, especially in tightly sealed homes.
What to Document During the Inspection
A useful inspection is not just about spotting a problem. It is about recording enough information to understand patterns and support the next step.
Take clear photos of visible staining, damaged materials, leaking components, and any area with recurring odor. Write down the room, exact location, approximate size of affected areas, and what material is involved. If occupants have noticed symptoms such as headaches, irritation, or worsening allergies in certain rooms, note that too.
Document timing. When did the odor start? Was there a storm, a plumbing leak, an AC issue, or a flooding event? Has the area been repaired before? These details often explain why growth developed and whether hidden moisture may still be present.
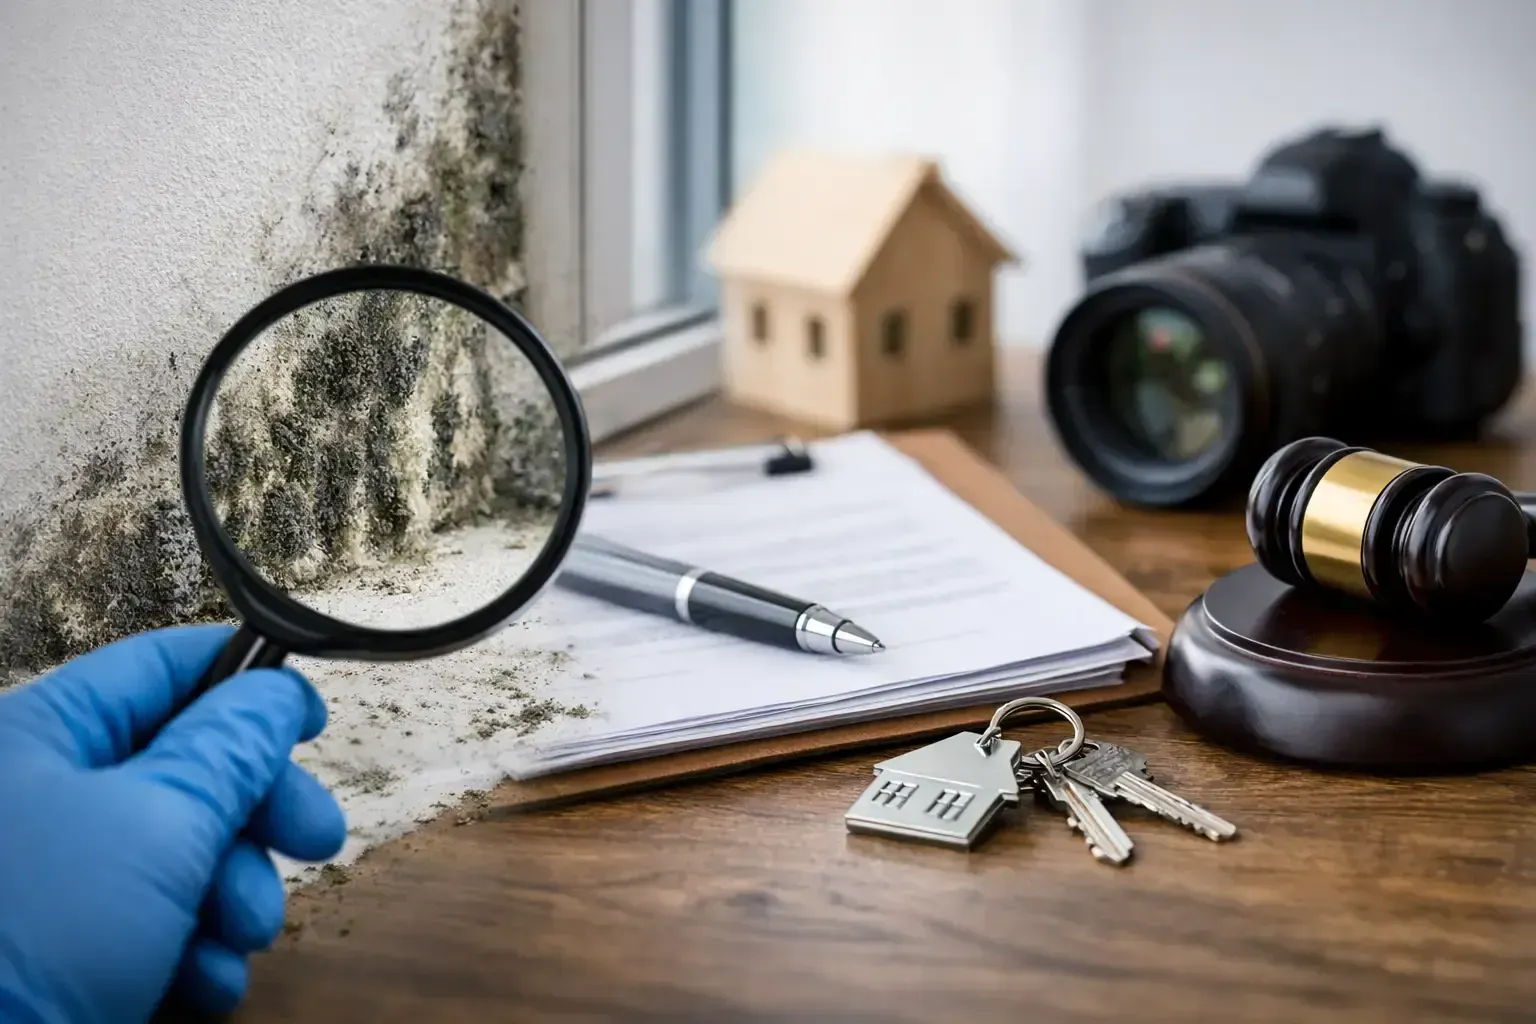
If the property is part of a real estate transaction, tenant dispute, or insurance matter, detailed documentation becomes even more important. Photos and notes can help establish condition, history, and urgency, but laboratory-backed testing may still be needed for defensible findings.
What This Checklist Can and Cannot Tell You
A visual checklist is an excellent first step, but it has limits. It can help identify signs of moisture intrusion, visible growth, odor patterns, and possible problem zones. It cannot confirm species, quantify airborne spores, or reliably determine how far contamination has spread behind building materials.
That distinction matters. Small visible growth on a bathroom ceiling from chronic humidity may require moisture correction and targeted cleaning. A similar-looking stain under a window could be tied to hidden framing damage and a larger wall cavity issue. Surface appearance alone does not tell the whole story.
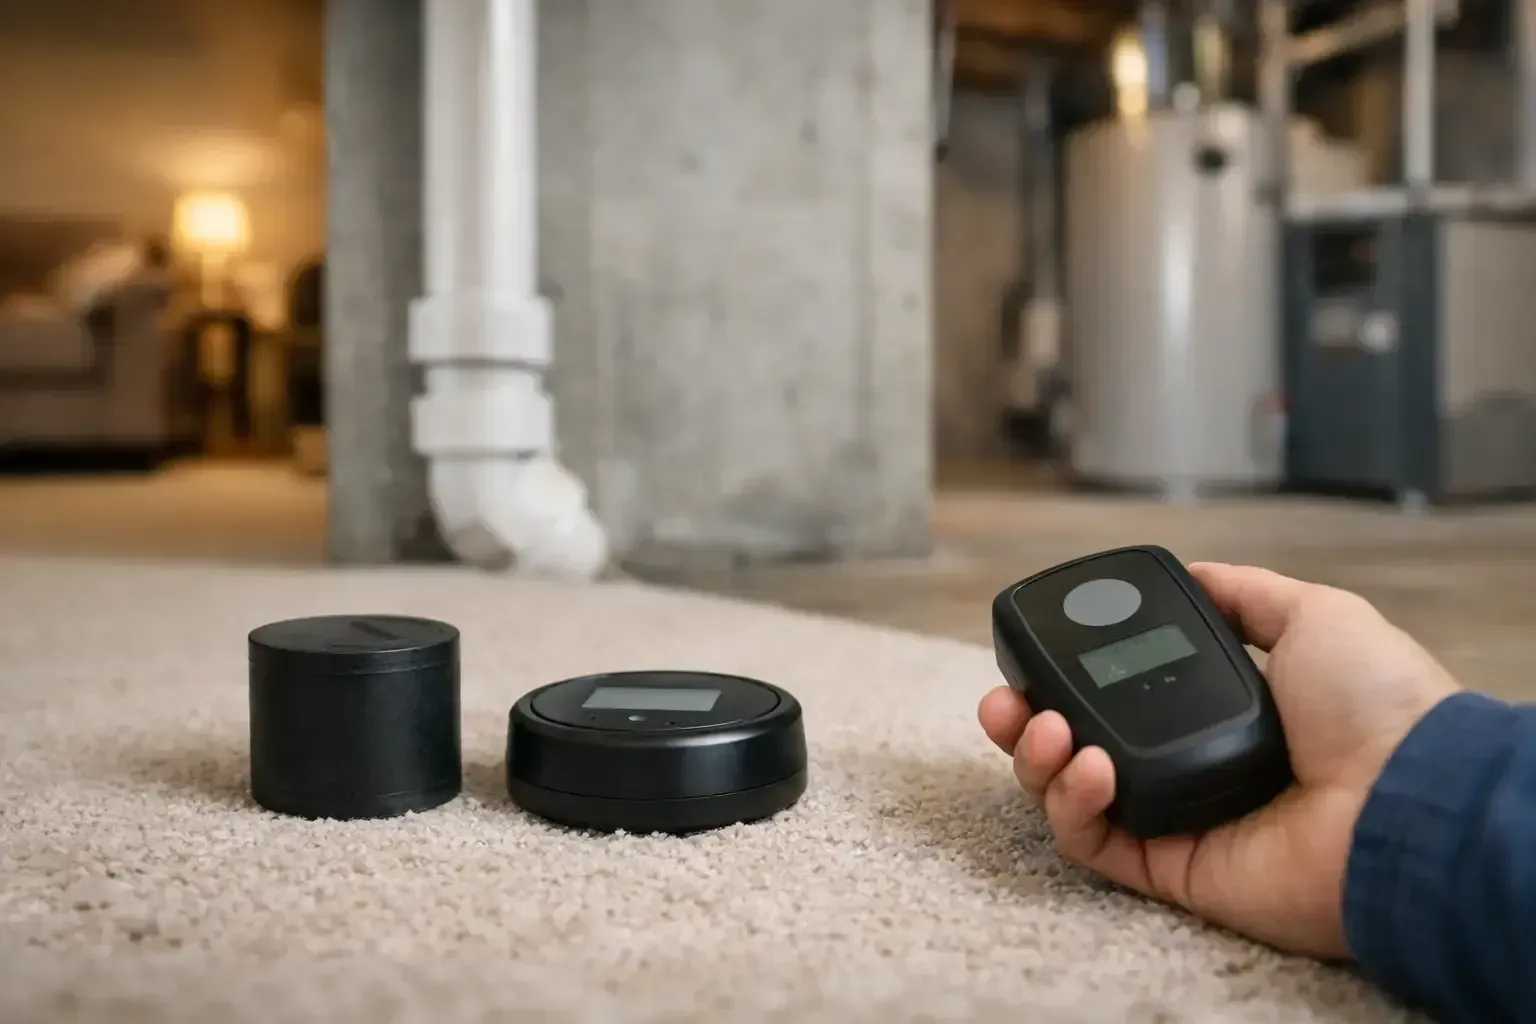
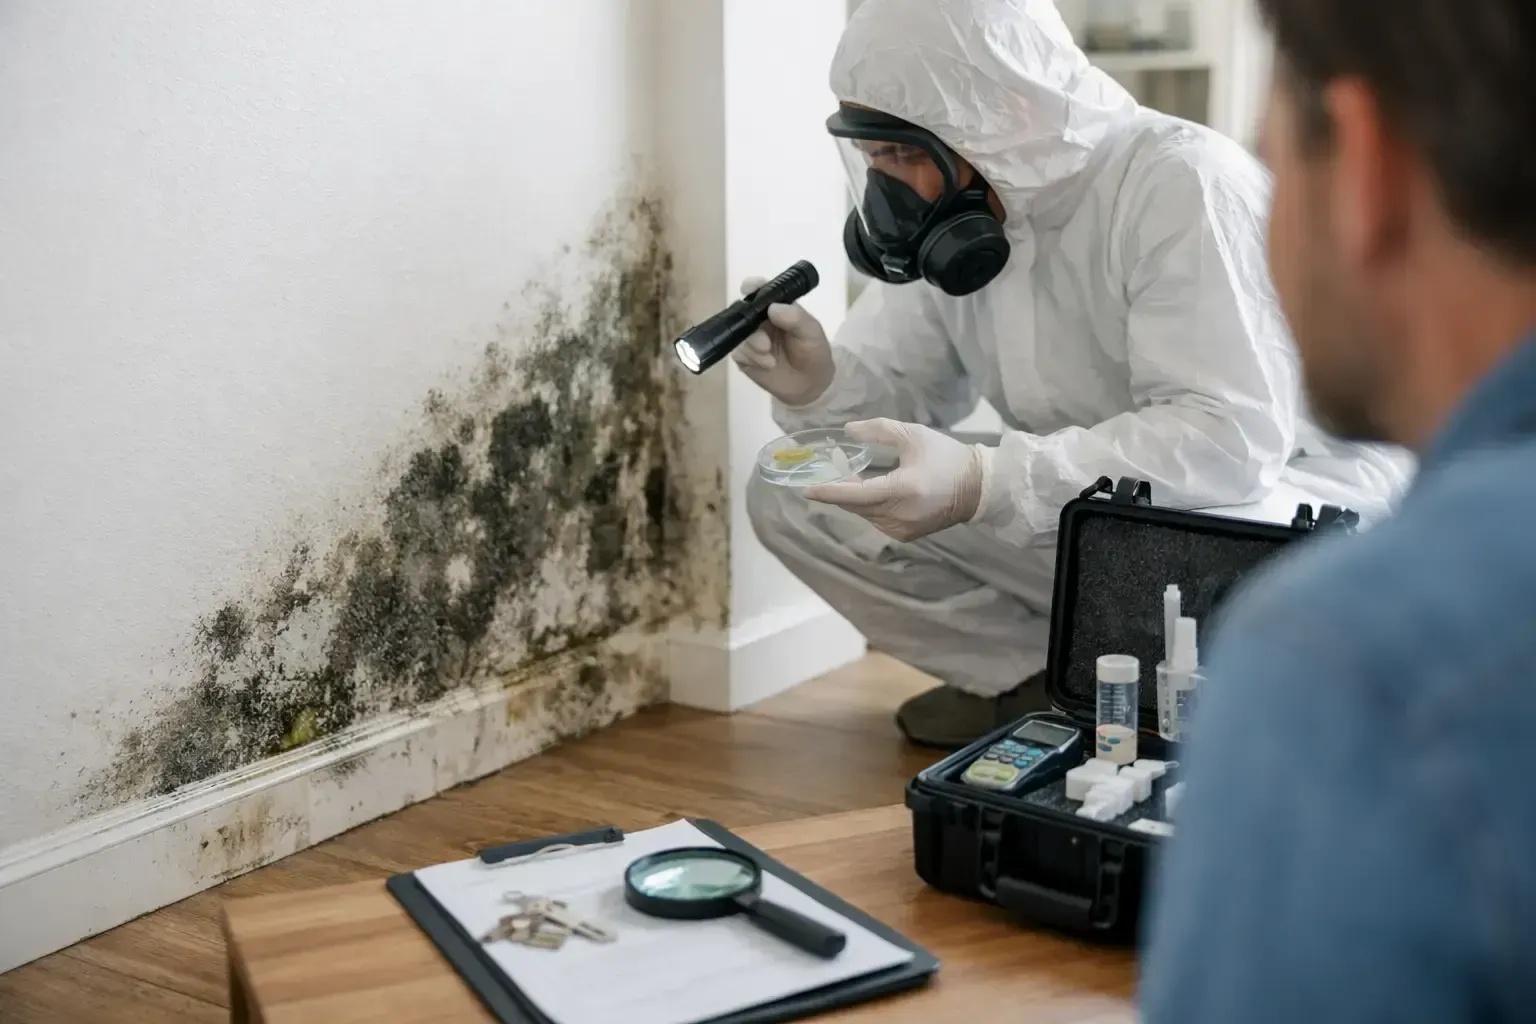
This is where professional assessment changes the picture. Moisture meters, thermal imaging, cavity checks, air sampling, surface sampling, and detailed reporting can confirm whether the problem is active, isolated, or more widespread than expected.
When to Move From a Checklist to Professional Mold Testing
If the affected area is growing, keeps returning, smells strong, follows a known water event, or appears in multiple rooms, it is time to bring in a qualified inspector. The same is true if a child, elderly occupant, or someone with asthma or a compromised immune system is living in the home.
Professional testing is also recommended when visible growth is limited but symptoms and odor suggest hidden contamination. This happens often after slow leaks, slab moisture issues, roof failures, and HVAC-related humidity problems.
For buyers and sellers, testing can provide clarity before closing. For landlords and tenants, it can create a documented record of current conditions. For homeowners after remediation, post-remediation verification helps confirm whether cleanup was effective and the area is ready for normal use.
Hanes Environmental handles these situations with field experience, certified methods, and clear reporting so property owners are not left guessing about what is in the home or what needs to happen next.
Common Mistakes During a Residential Mold Inspection Checklist Review
One mistake is focusing only on visible black spots and ignoring the moisture source. Another is assuming a bleach wipe solved the issue without checking whether the material stayed wet underneath. Porous materials like drywall, insulation, and carpet padding often require a different response than non-porous surfaces.
People also miss hidden areas. Behind furniture, under sinks, inside closets, beneath vinyl flooring, and above ceiling lines are common locations for concealed damage. Strong air fresheners and recent cleaning can temporarily mask odor, which is why inspection should include both sight and smell.
Finally, do not assume every stain is harmless because it is old. Old water damage can still support active mold if moisture remains or humidity stays elevated.
A Practical Way to Use This Checklist
Use the checklist as a screening tool, not a final diagnosis. Walk the property slowly. Start where water is most likely, then expand outward to adjacent rooms and connected systems such as HVAC and crawl spaces. Document what you see, what you smell, and what history you know.
If your inspection reveals isolated humidity staining, you may only need better ventilation and moisture control. If it reveals recurring leaks, soft materials, spreading discoloration, or widespread odor, the safer move is a professional mold assessment with testing where appropriate.
When indoor conditions feel off, delay usually makes the situation more expensive. A careful inspection done early can protect your health, your property, and your documentation if the issue turns into a real estate, insurance, or tenant matter.
The best closing thought is simple: trust what the building is telling you. If you see moisture, smell mustiness, or notice damage that does not make sense, act on it before a small problem becomes hidden contamination.
Recent Posts